» Install the receipt printer
» Setup the receipt printer in the Booking Agent
» Setup company name and details on the receipt
» Print a Receipt
» Setup the receipt printer in the Booking Agent
» Setup company name and details on the receipt
» Print a Receipt
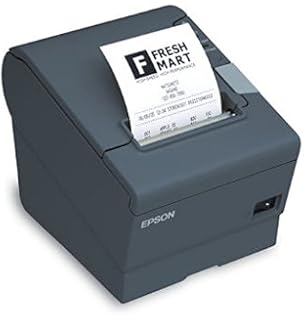 EPSON TM-T88V is recommended.
» Search Amazon for EPSON TM-T88V Receipt Printer
» Search Amazon for EPSON TM-T88V Thermal Paper
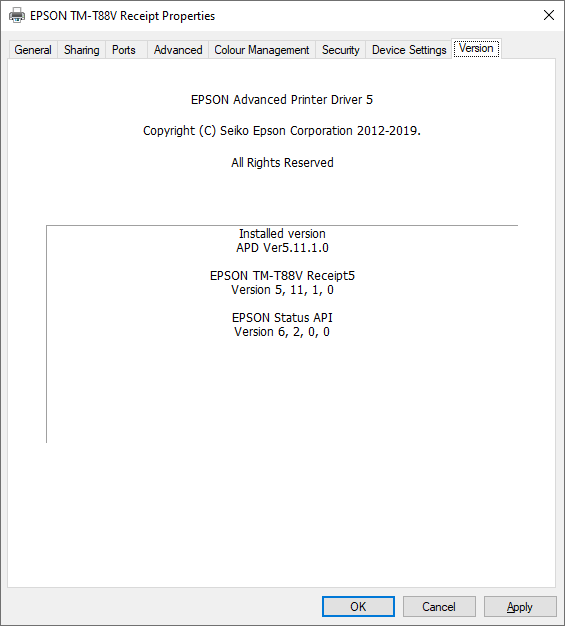
» Download Epson Printer Drivers
See Advanced Printer Driver (v5.09 or later)
Install the receipt printer
- Follow the instructions from the disk installation as provided by the manufacturer.
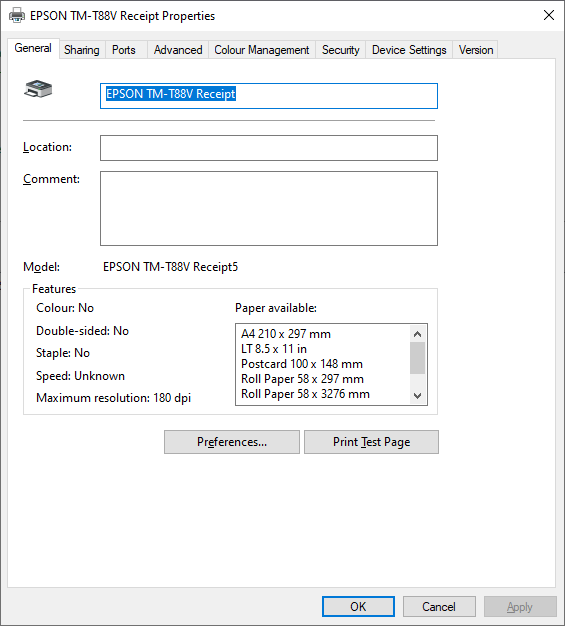
- Verify the receipt printer has been installed in Windows under Printers and Faxes.
It should show a Status of Ready.
Setup the receipt printer in the Booking Agent
- Click File > Preferences > Billing.
- In the Receipt section, select the receipt printer from the drop-down list.
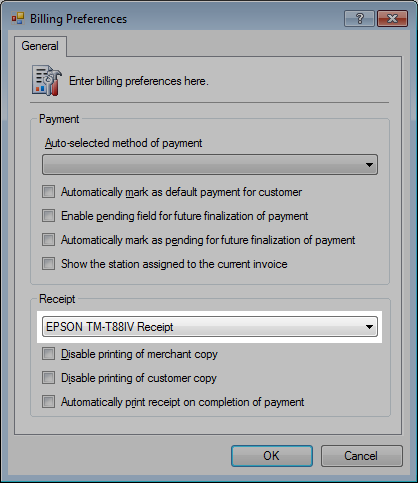
- Click OK to save.
Setup company name and details on receipt
You can set the header and footer for the merchant, customer and shipping receipts. You are able to customize to your business requirements. The header/footer areas are set globally, they apply to all forms of payments.
- Click File > Configuration > System.
- Click the Receipts tab.
- Set the Merchant, Customer and Shipping options for Full, Short and Disabled receipts.
- Click the Merchant tab and set the Title, Header and Footer values.
 Optional. You can add a signature line in the Footer field.
 - Click the Customer tab and set the Title, Header and Footer values.
- Click the Shipping tab and set the Title, Header and Footer values.
- Click OK to save.
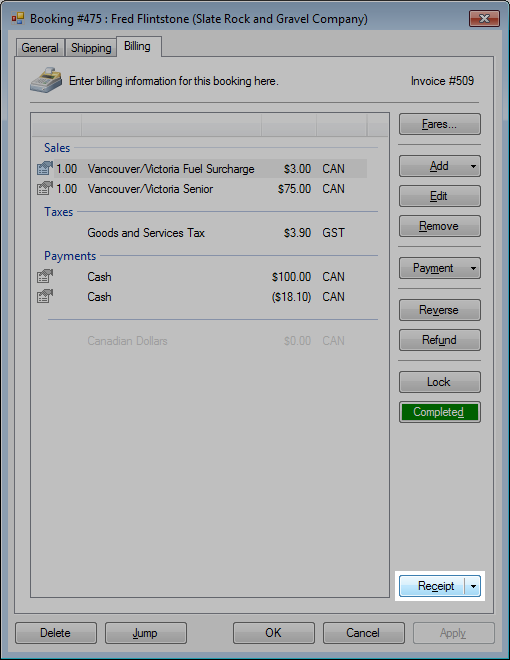
Print a Receipt
- Open a Booking or an Invoice.
- In Billing tab, click Receipt.
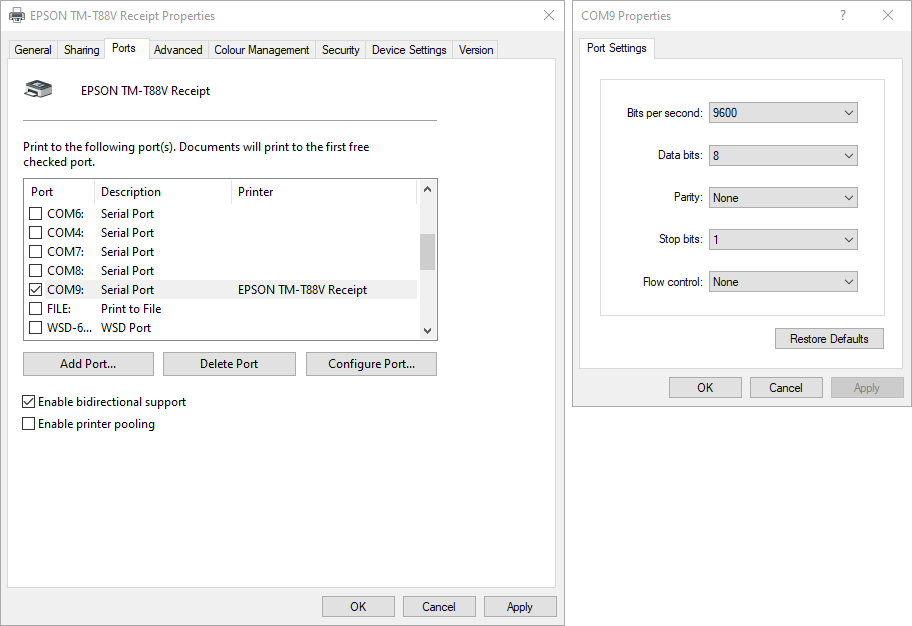
Setup Reference
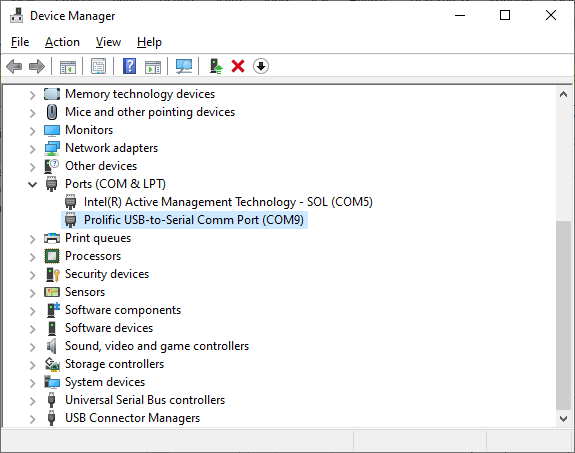
USB-to-Serial Comm Port