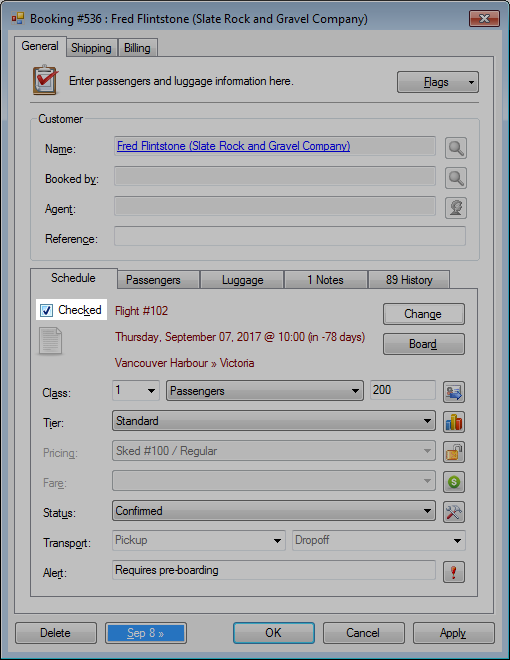
The check in process for a booking generally consists of three steps:
- Marking the booking as checked.
- Adding luggage, if applicable.
- Accept and finalize the payment.
Additional resources:
» My First Check In
» Group bookings | Mark a passenger as checked in for a group booking
» Manage luggage | Add luggage
» Waiting List | Review the Waiting List
» Reports | Manifest Report
» My First Check In
» Group bookings | Mark a passenger as checked in for a group booking
» Manage luggage | Add luggage
» Waiting List | Review the Waiting List
» Reports | Manifest Report
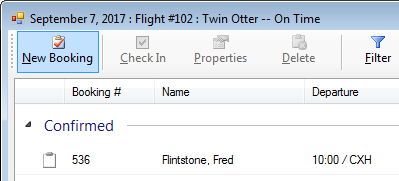
Open the manifest
The schedule provides a customizable window into the operational side of the business.
Schedules will display each leg separately.
- Navigate to the Schedule tab.
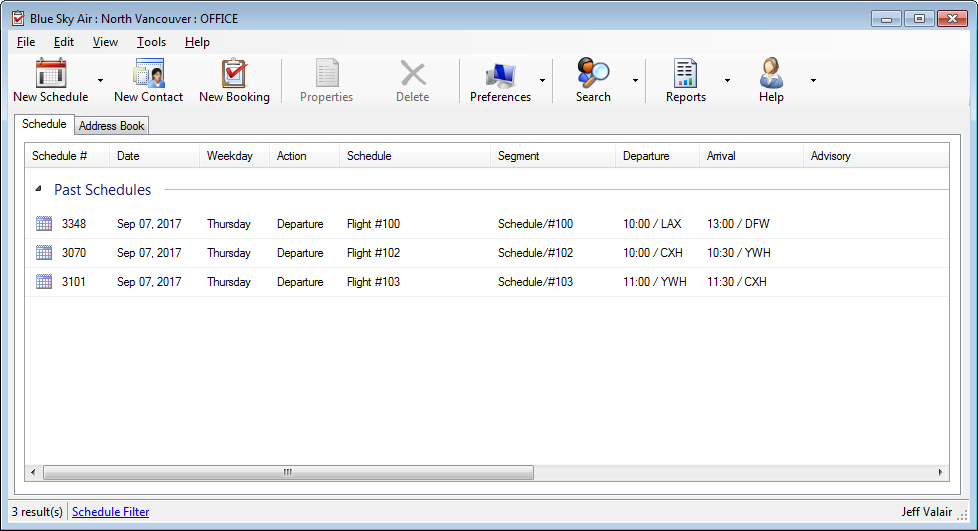
- Optional. Set the Schedule Filter to focus on just your location.
» Schedule Filter - Select a leg.
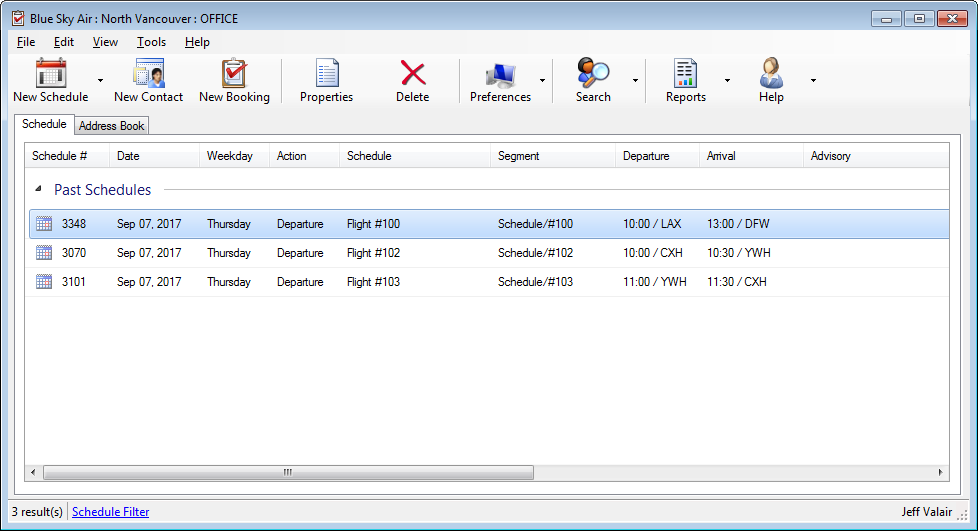
- Press ENTER or double-click to open the manifest.
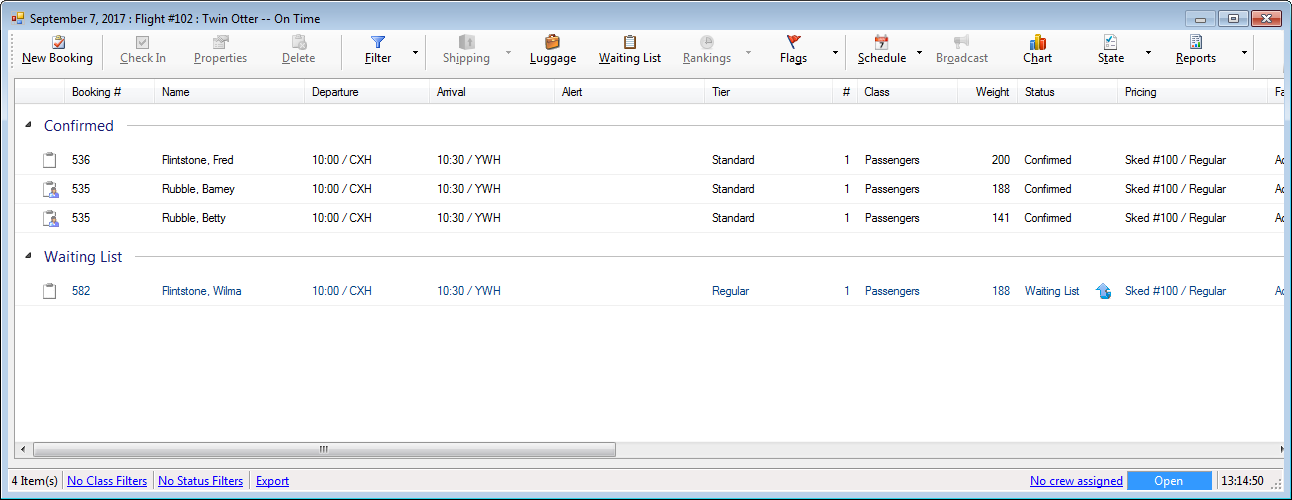
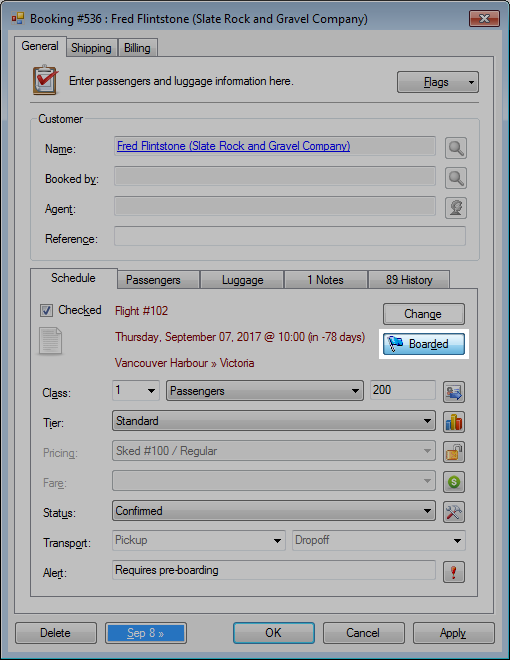
Checked vs Boarded
Checked is the standard flag to indicate a booking has been checked in.
Boarded is an optional flag which allows employees to break up or define check in separate from the boarding process.
This is applicable to clearly defined check in and gate counters.
Walk up booking
- Click New Booking.
- Search availability and complete the booking.
» My First Booking
When creating standby or waiting list bookings, you can use Rankings to determine the priority when space becomes available.
» Rankings
» Rankings
Move a booking
- Open a booking.
- In the General tab, click Change.
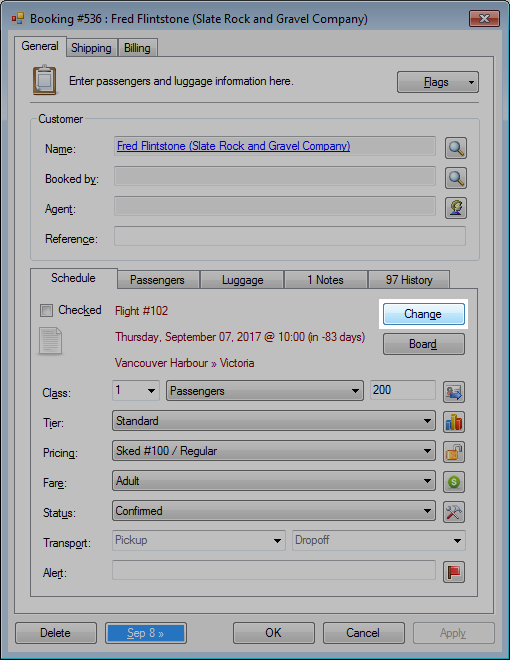
- Search availability and change the route.
» My First Booking - Click OK.
You can preserve the existing billing by marking the booking Checked before clicking Change.
This prevents the billing from automatically synchronizing when the change is made.
This prevents the billing from automatically synchronizing when the change is made.