» Find Availability
» Select a Customer
» Select an Agent
» Set the Fare
» Add an Alert
» Set the priority of a booking
» Add a Flag
» Send an email or text confirmation
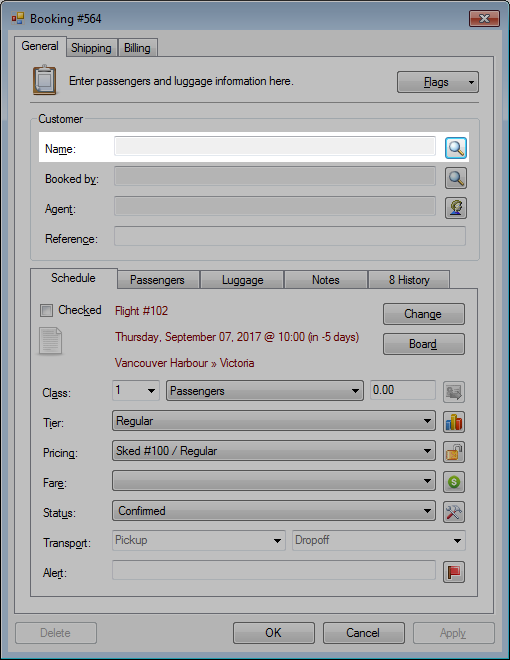
» Anatomy of a Booking
Create a new booking
There are three pathways for creating a new booking.
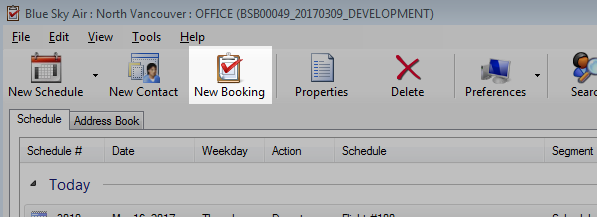
Customer calls and requests availability
- Click New Booking from the toolbar in the main window.
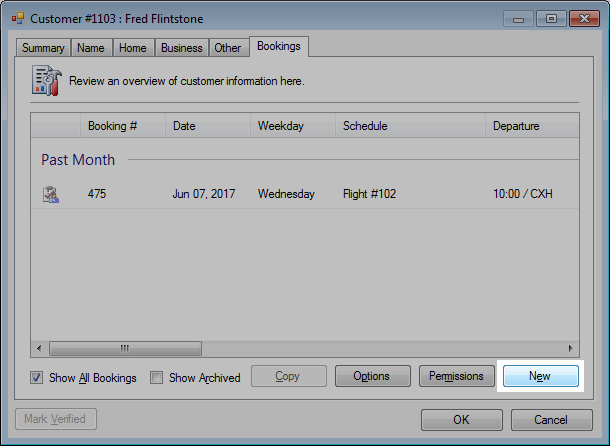
Customer is already known and requests availability
- Open a contact.
» Find a contact - Click the Bookings tab.
- Click New.
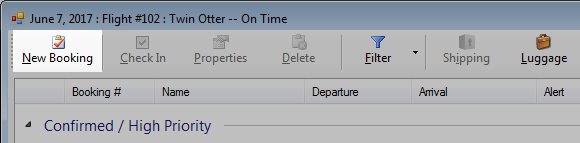
Customer walks up to the front counter and wishes to book
- Open a manifest.
» Open a manifest - Click New Booking.
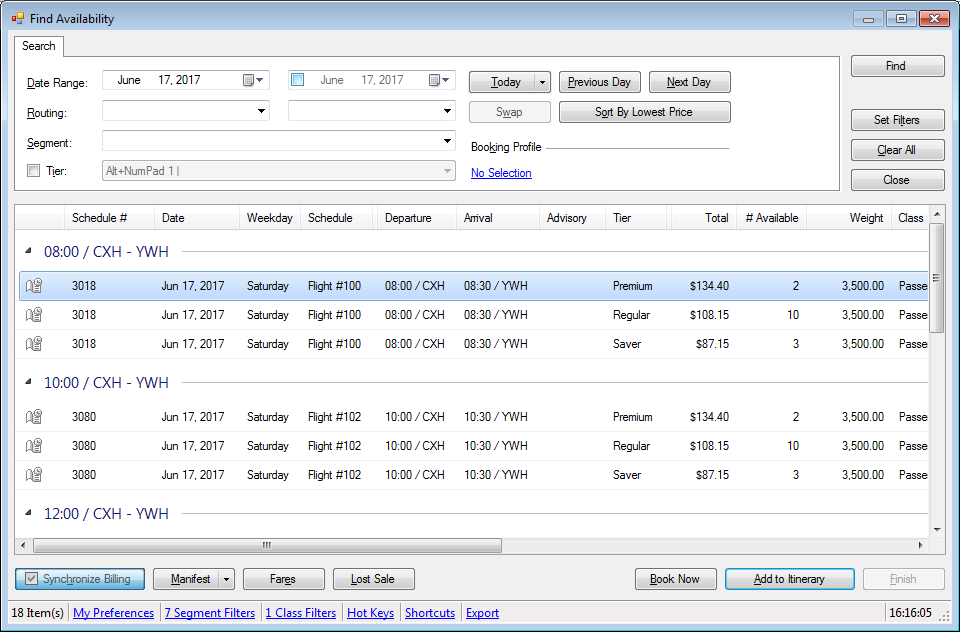
Find Availability
The Find Availability window provides relevant search criteria for availability and pricing.
There are several basic search filters:
- Departure Date
- Departure Date Range
- Departure Location
- Arrival Location
- Segment
- Tier
- Lowest Price
Please see the introduction tutorial to create a new booking.
» My First Booking
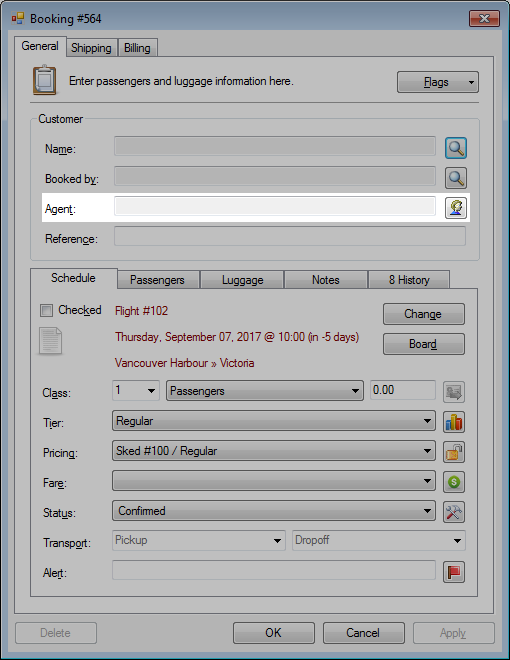
Select a Customer
This is the owner of the booking.
- Click the search icon on the Name field or press ALT + M.
- The Find Contacts window will open.
- Enter the name and click Find.
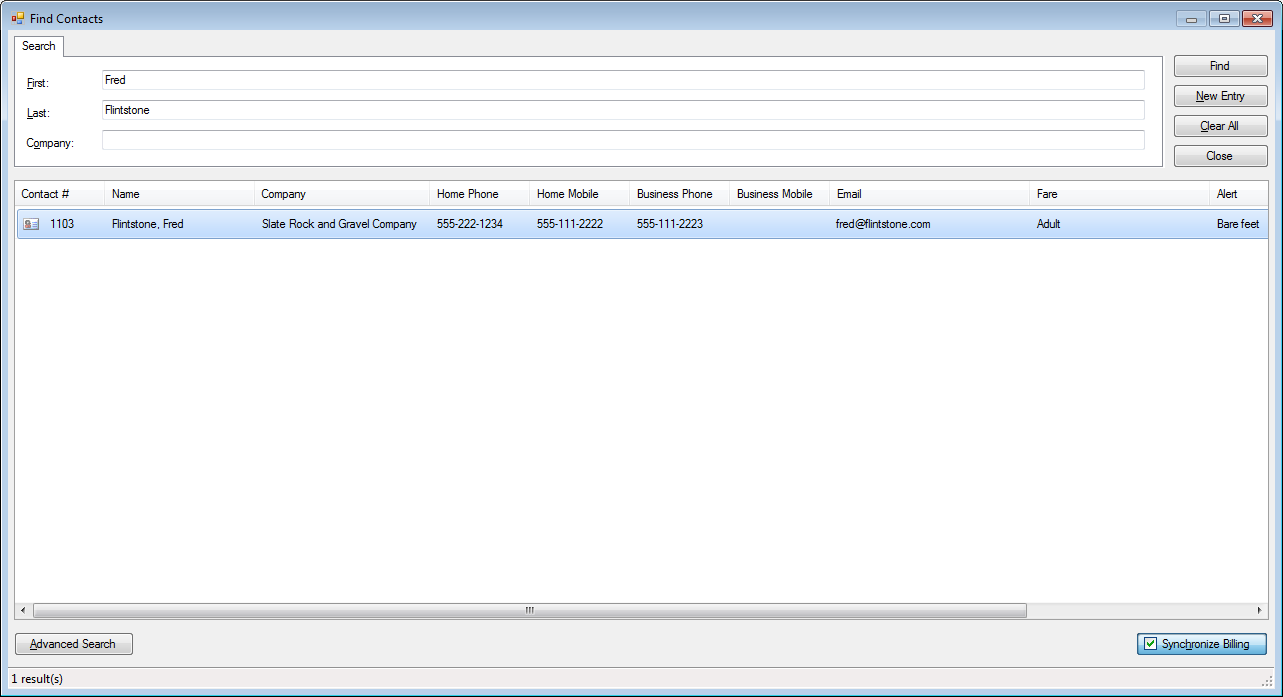
- Select the customer and press ENTER or double-click the customer.
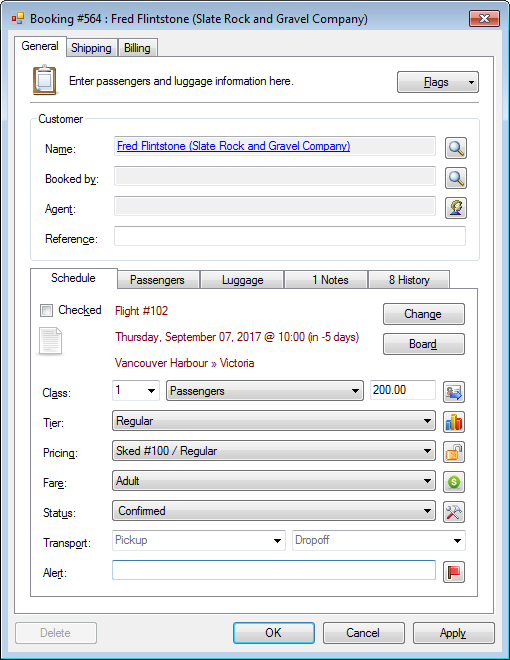
- The customer will be assigned to the booking.
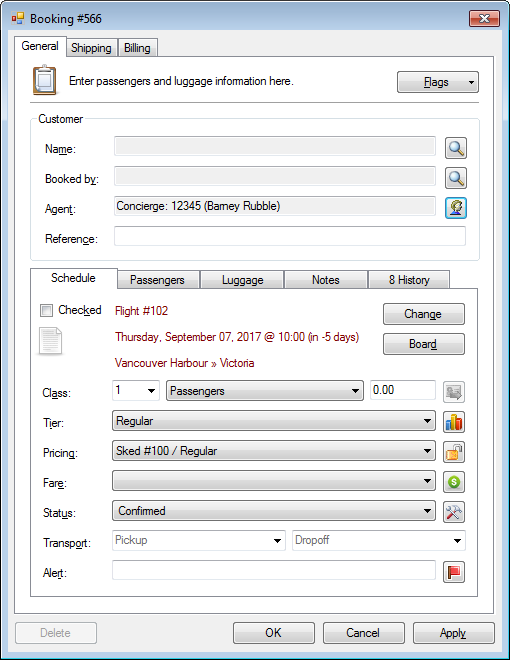
Select an Agent
- Click the search icon on the Agent field or press ALT + T.
- The Find Agents window will open.
- Enter the search criteria and click Find.
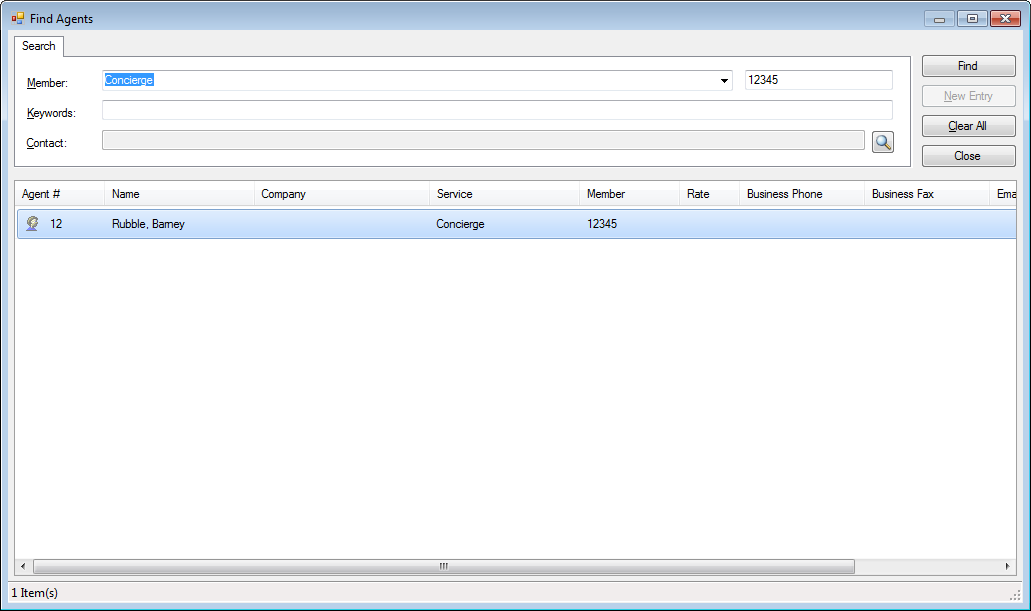
- Select the agent and press ENTER or double-click the agent.
- The agent is assigned to the booking.
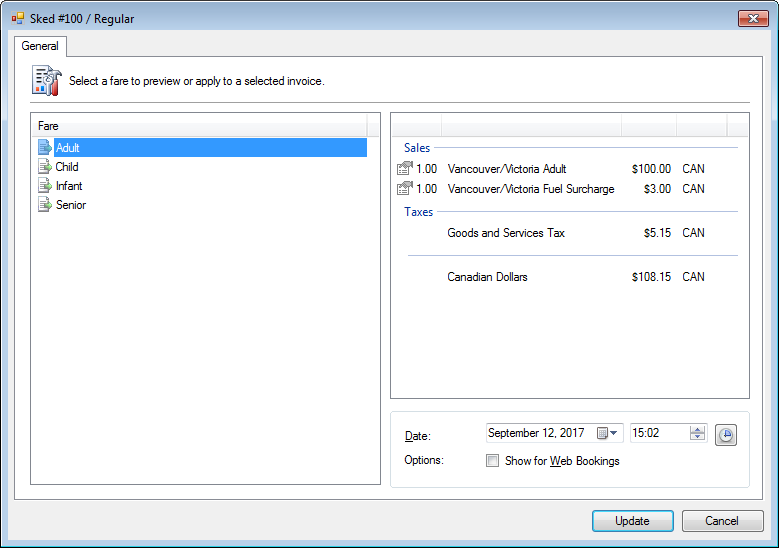
Set the Fare
- Select the Fare drop-down list.
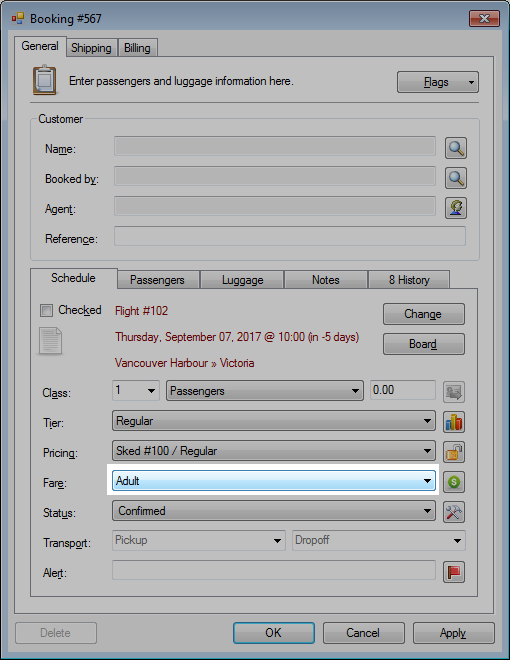
- The pricing window may open to allow review of the new billing.
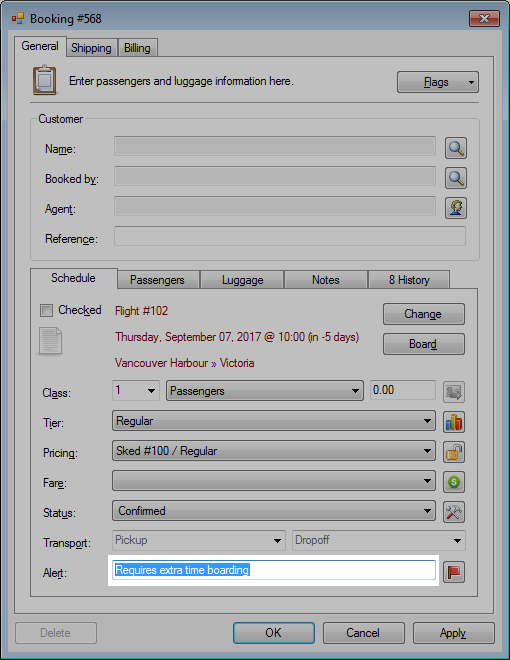
Add an Alert
An alert is a short private message to other employees for timely and important information about the booking and/or the customer.
The alert is visible on the manifest to all employees.
- Enter the Alert.
Set the priority of a booking
- In the booking, click the flag to the right of the Alert field.
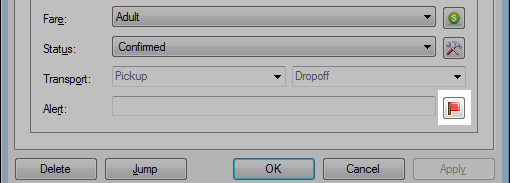
- Cycle through the priority options of high, low and normal.


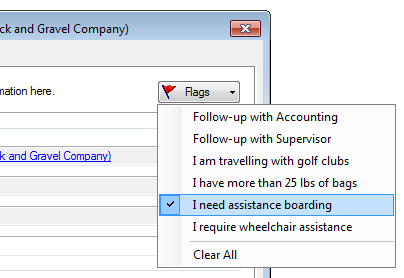
Add a Flag
- In the General tab, click the Flags button.
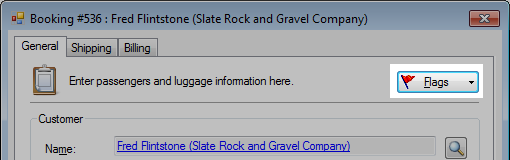
- Click the flag to toggle.
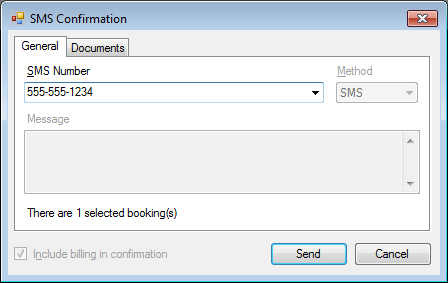
Send an email or text confirmation
You can communicate booking information through email, text messages and fax.
With the email and fax options, you can include billing information and optionally attached documents such as waivers and tour brochures.
From a Booking
- Click the Billing tab.
- Click the Receipt drop-down arrow.
- Click Email or press CTRL + E.
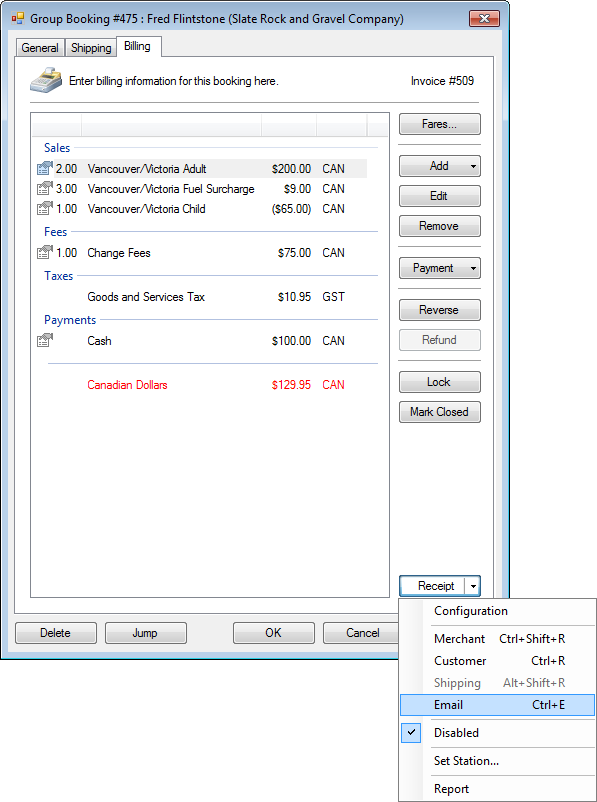
- Confirm the email address and click Send.

From the Address Book
- Click the Bookings tab.
- Select the booking(s).
- Right-click for Confirmation > Email or Text/SMS.
Press CTRL + E for Email and CTRL + T for Text/SMS.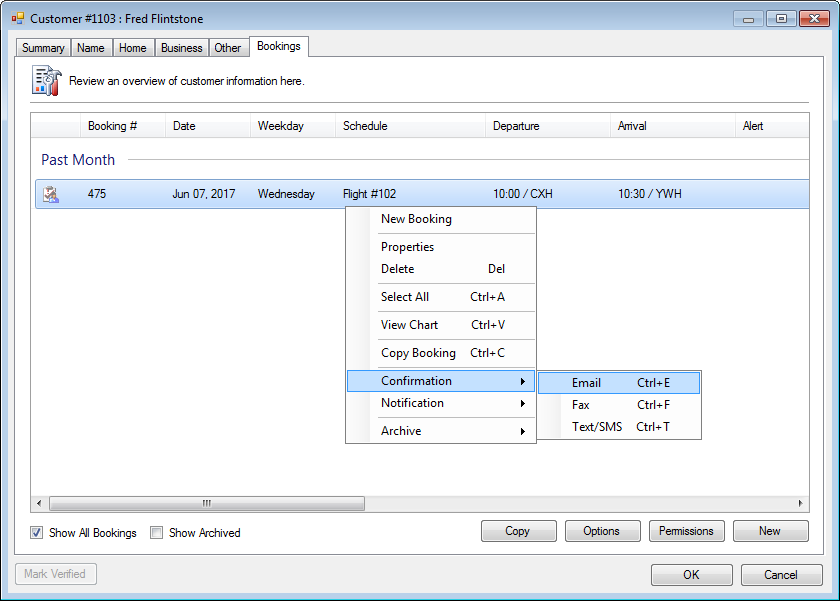
- For email confirmations, confirm the email address and click Send.
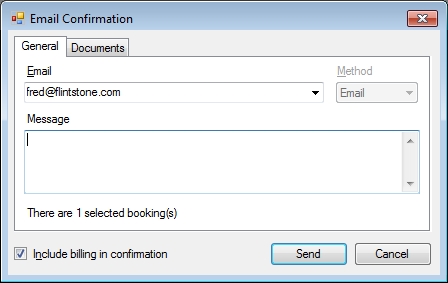
- For text messages, confirm the mobile number and click Send.