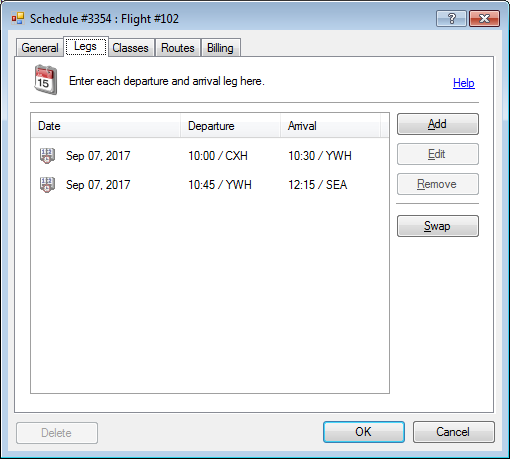
The legs are the physical connections between two locations for a single schedule.
There can be multiple locations or hops which make up a schedule.
» Add multiple routes
» Generate routes
» Add a tier to a route
» Add pricing to a tier
» Add business rules to a tier
» Examples of business rules
» Core Concepts | Routes
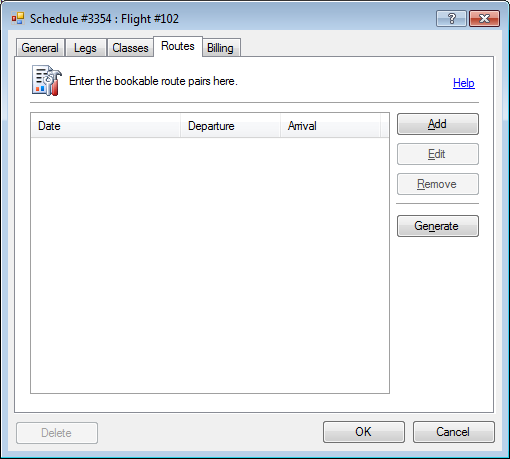
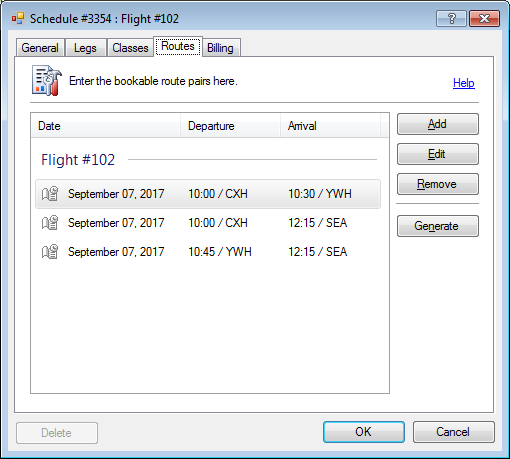
Add a route
- Click the Routes tab.

- Click Add.
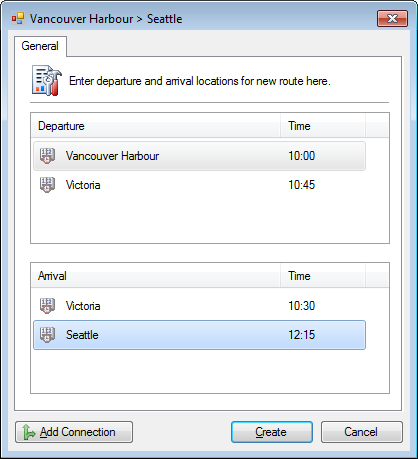
- Select the Departure and Arrival locations.
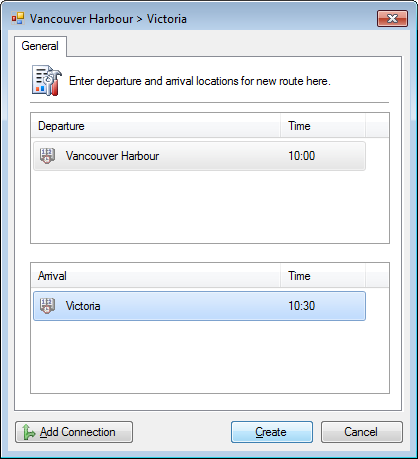
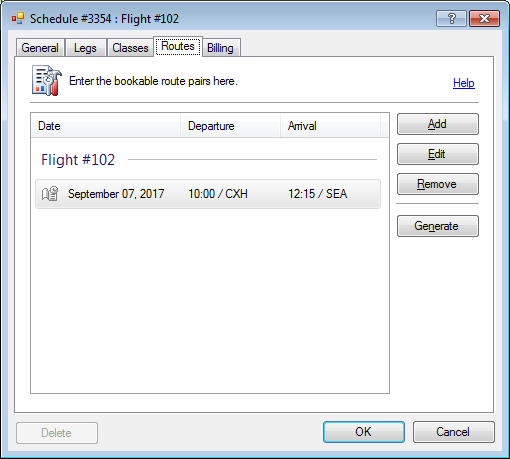
- Click Create. The route has been created.
Add multiple routes
» Setup multiple legs
- In the Legs tab, ensure there are multiple legs.
- Click the Routes tab.
- Click Add.
- Select the Departure and Arrival locations.
- Click Create.
- Click Add and repeat procedure for all desired routes.
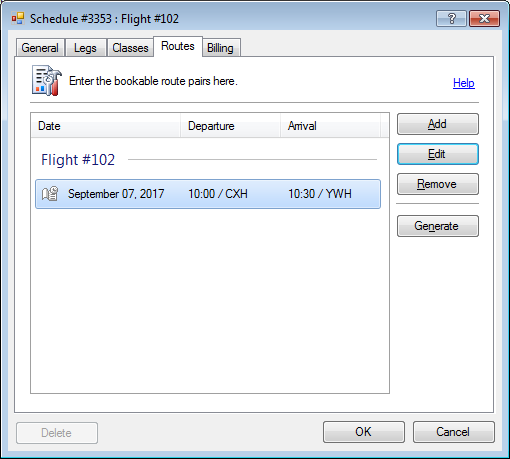
Generate Routes
Generating routes is an easy way to create all possible routes quickly without manual interaction.
- Click the Routes tab.

- Click Generate.
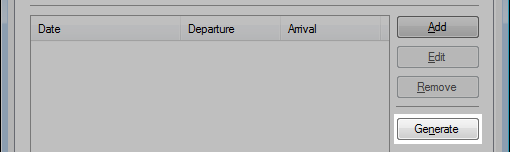
- All the possible routes for the schedule will be created.

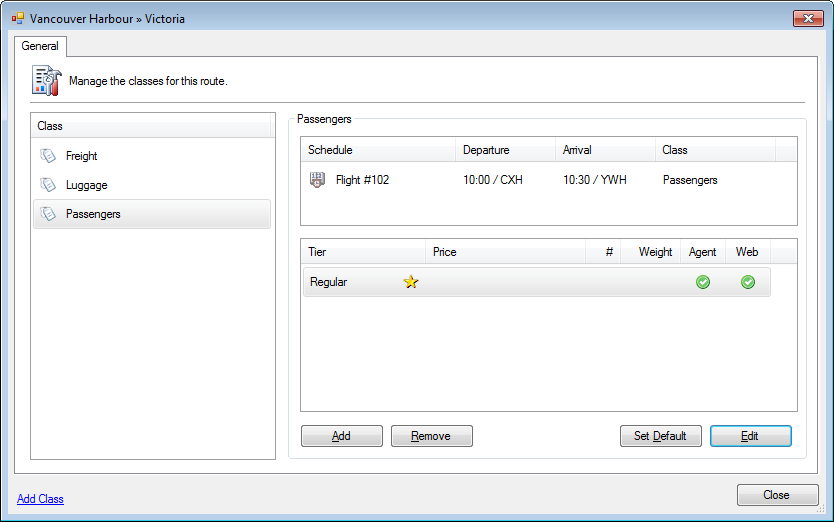
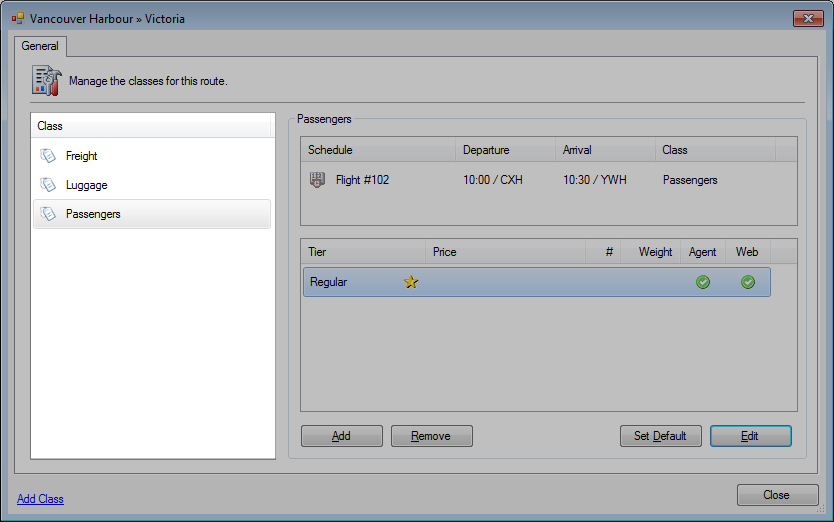
Add a tier to a route
Adding a tier allows customers to book on the route with associated policies and pricing.
A standard tier is usually automatically added when a route is created, based on company settings.
- Click the Routes tab.
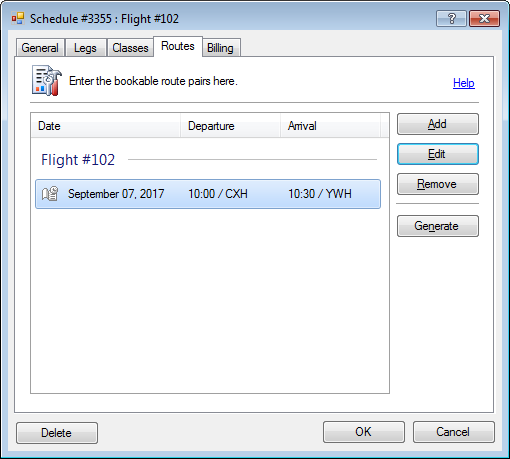
- Click Edit.
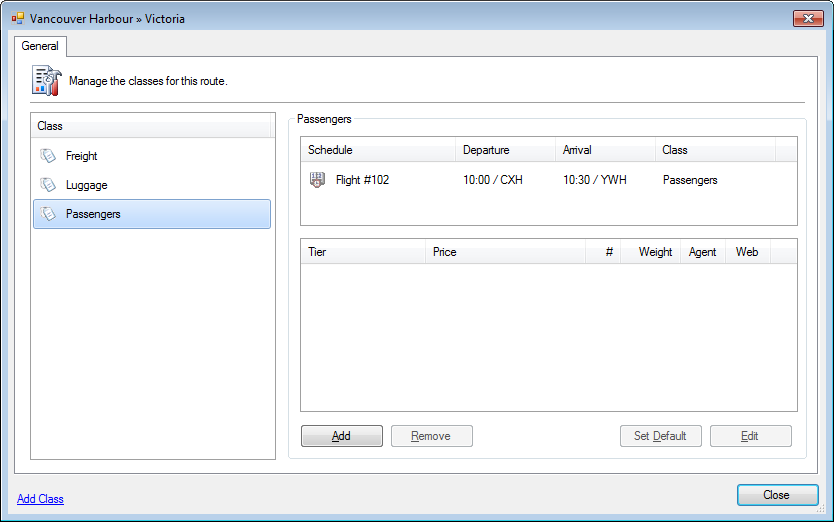
- Select the Class from the left side window.
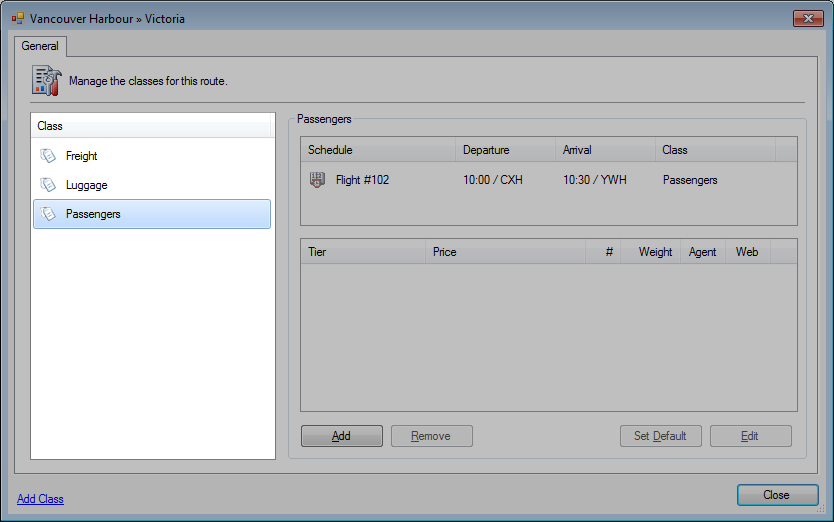
- Click Add.
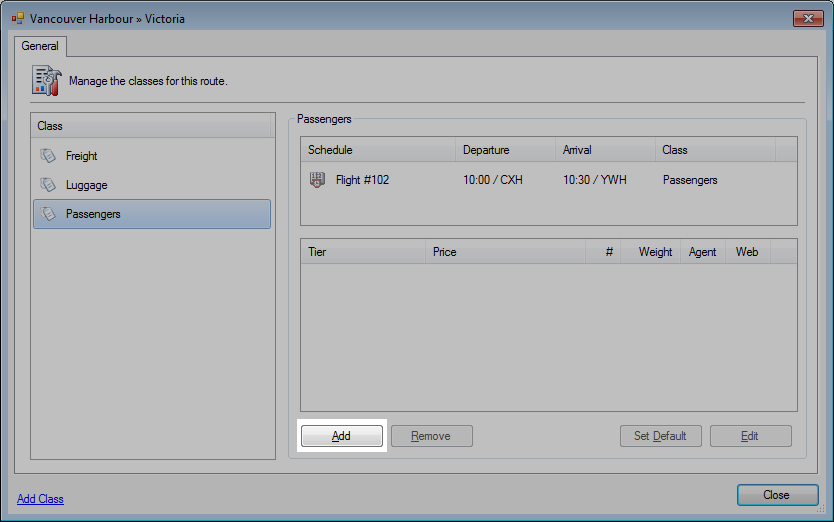
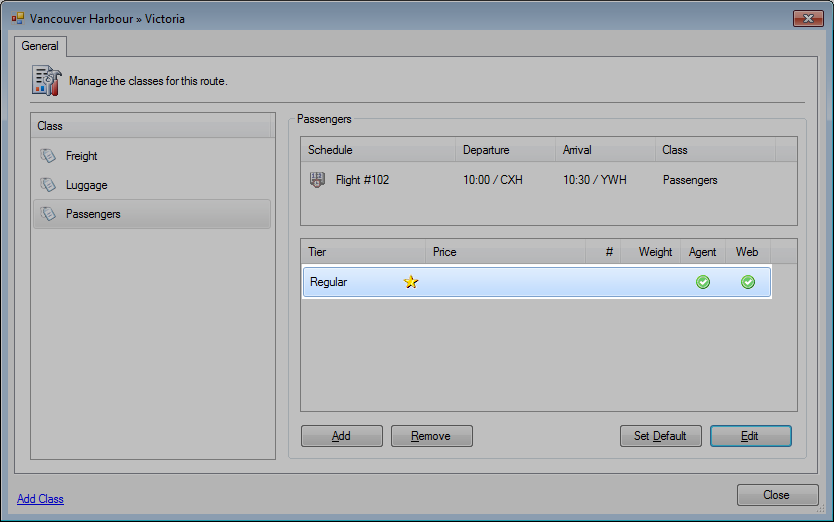
- Select a Tier.
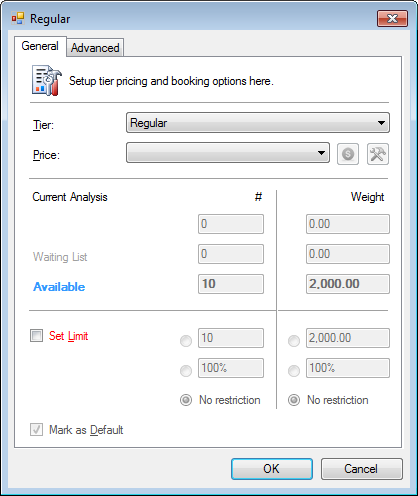
- Click OK. The tier has been added for the class on this route.
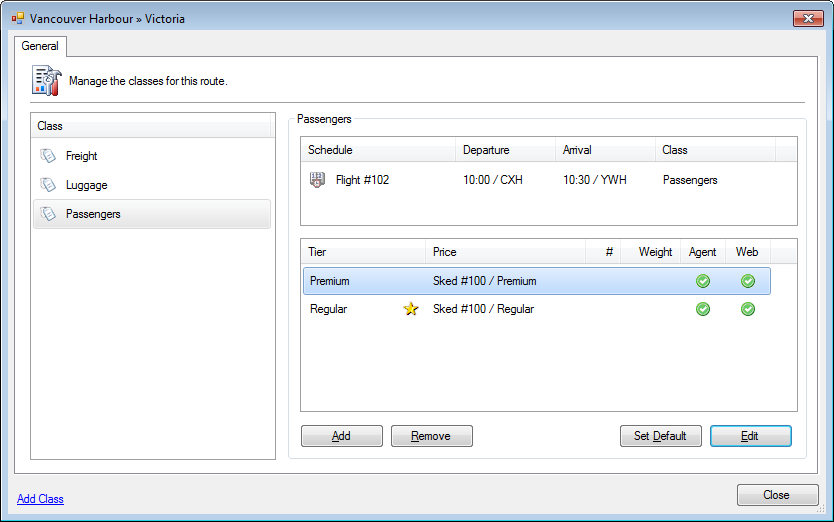
- Click Add.
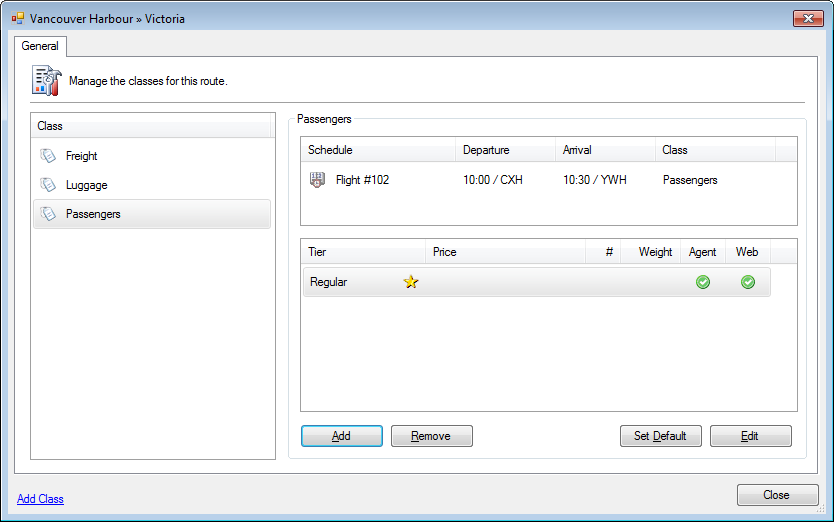
- Select a Tier. Set any additional options as required.
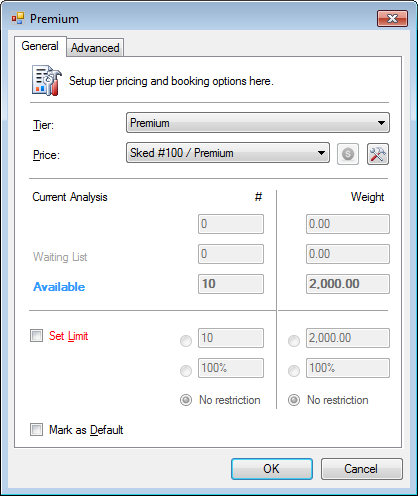
- Click OK. The tier will be added to the list.
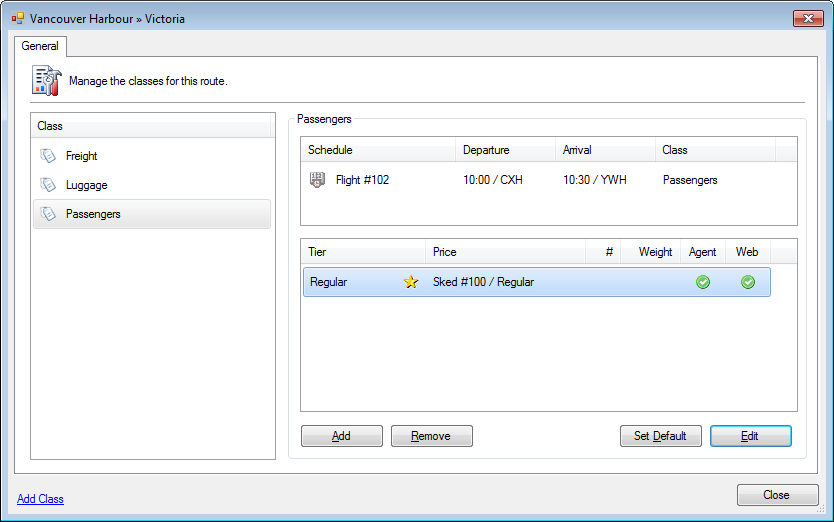
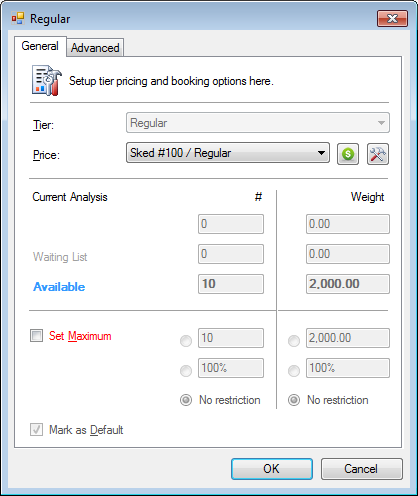
Add pricing to a tier
- Click the Routes tab.
- Click Edit.
- Select the Class from the left side window.
- Select the Tier.
- Click Edit.
- Select the Price group from the drop-down list.
- Click the OK. The pricing is linked to the tier.

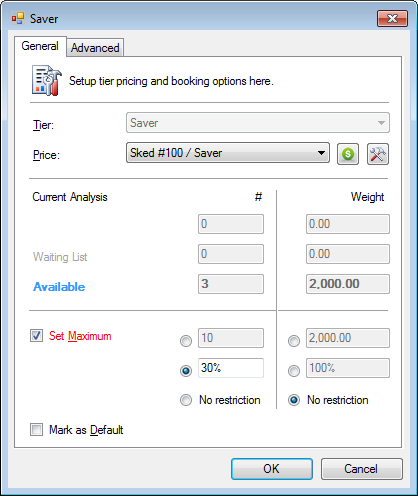
Add business rules to a tier
- Click the Routes tab.
- Click Edit.
- Click Edit.
- Optional. Set Limit of the total number of seats and/or weight.
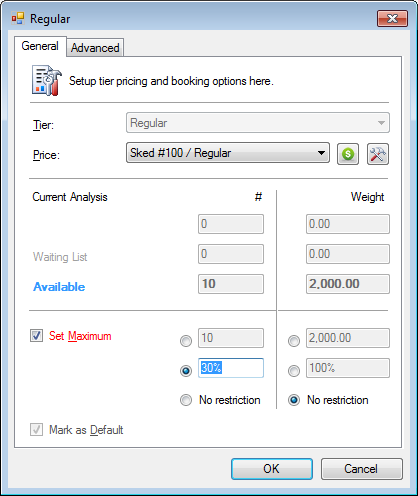
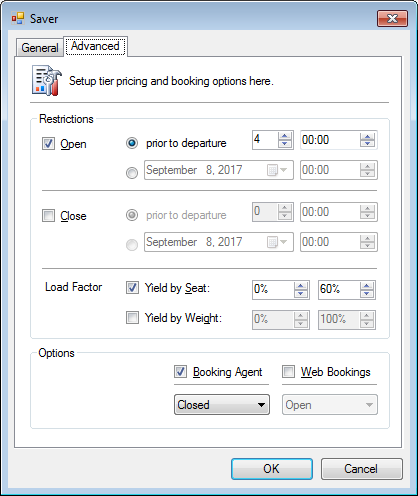
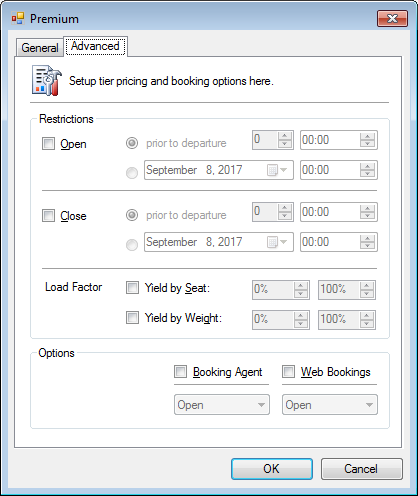
This setting would allow a maximum of 30% of seats. - Click the Advanced tab.
- Optional. Check and set the Activation date.
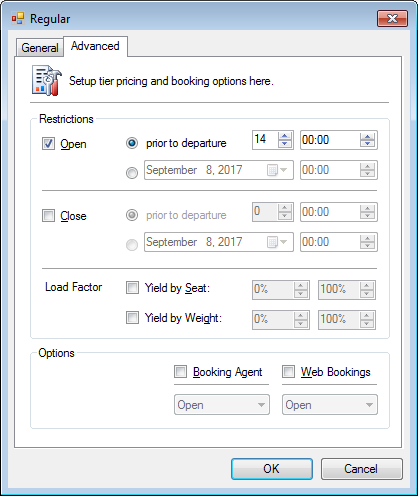
This would turn on and allow for bookings 14 days prior to departure. - Optional. Check and set the Expiration date.
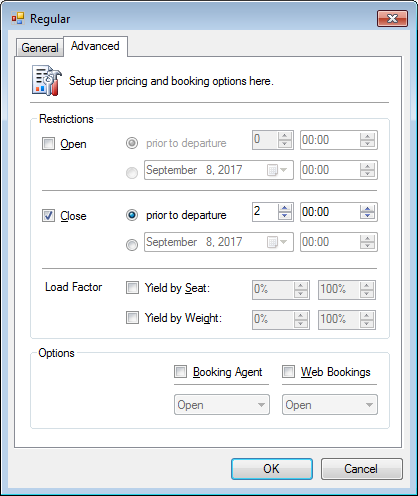
This would expire and turn off the ability to book 2 days prior to departure. - Optional. Set by Seats yielding.

This would allow bookings in the initial 0 – 60% of capacity, based on the load factor. - Optional. Set the Booking Options.
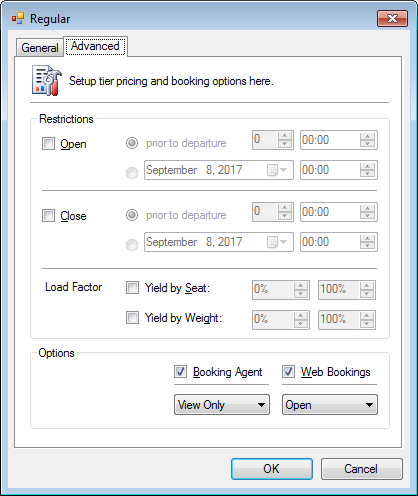
Internal employees would see but could not book on this tier, whereas customers could book online.
Examples of business rules
Overview
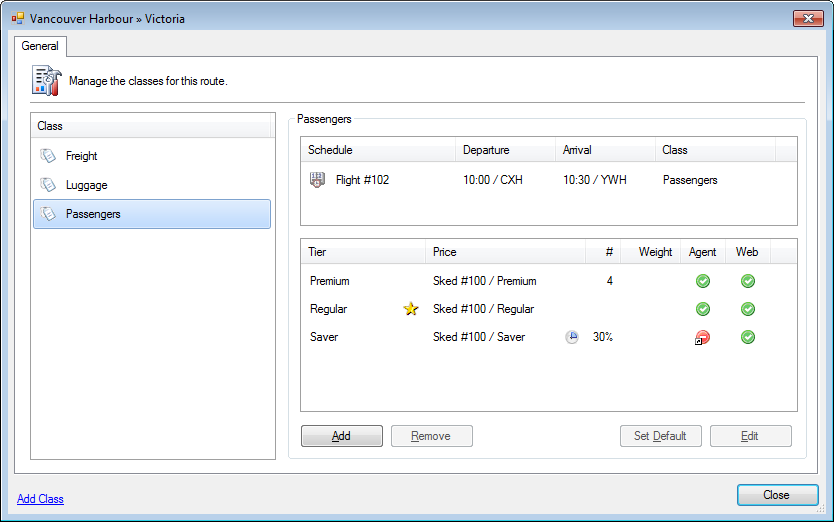
Premium
This premium tier may come with added benefits but due to seating layout is to 4 seats.
- Premium tier w/open policies
- Limited to 4 seats
- Available for interal and online bookings

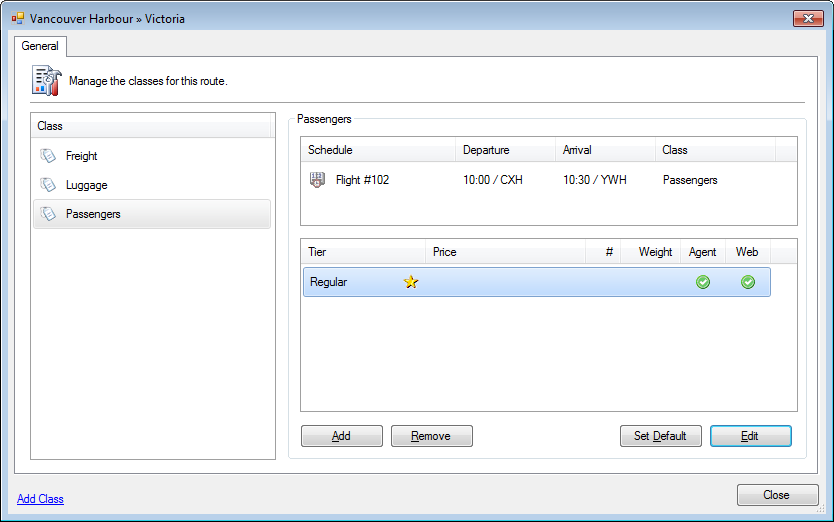
Regular
This is the standard tier which captures most bookings.
- Regular tier w/standard policies
- Marked as the default
- Open to all available seats
- No date restrictions
- Available for internal and online bookings

Saver
This discounted tier maximizes revenue as it will only be available when loads are low in the final days leading up to departure.
- Saver tier w/restrictive policies
- Discounted price
- Seating limited to 30% of capacity
- Available in the last 4 days prior to departure
- Restricted to the 0 – 60% seating based on load factor
- Closed to internal bookings