Let’s check in a booking!
- Select the Schedule tab from the main window.
- Select the schedule you wish to check in.
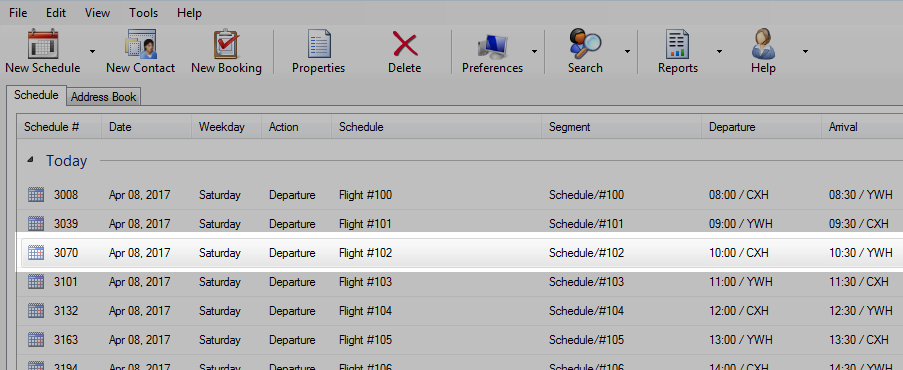
You may need to adjust your Schedule Filter to view active schedules.
»
Schedule Filter
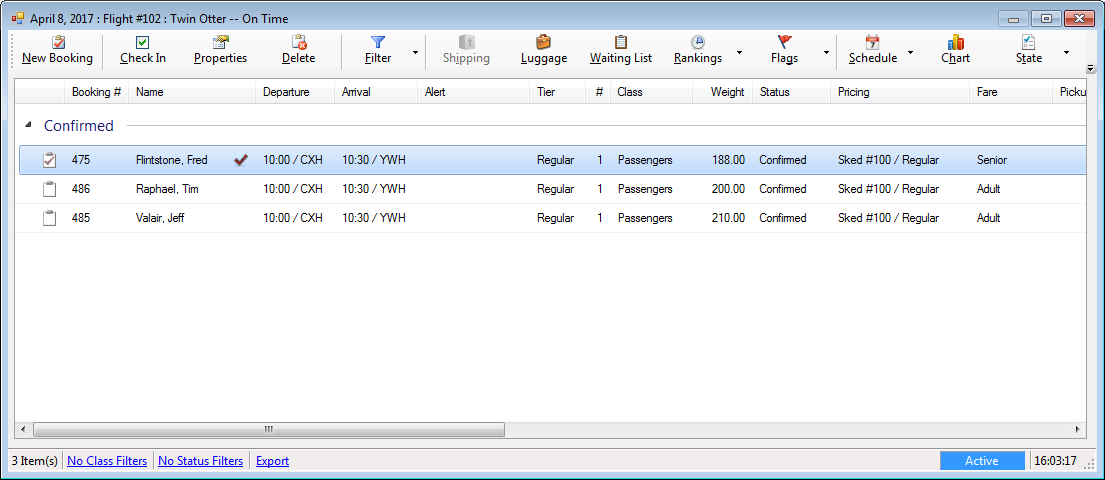
- Press ENTER or double click. The manifest window will open.
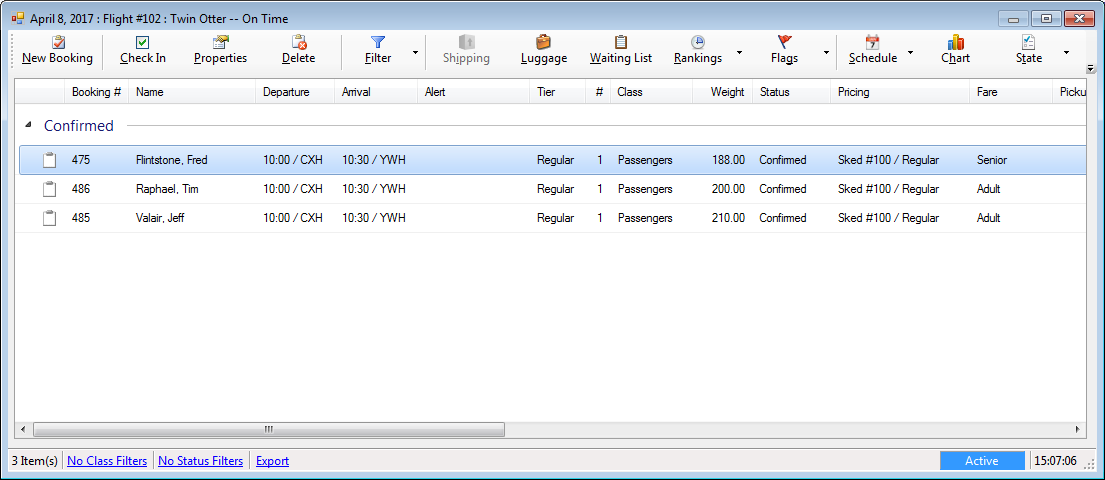
- Select the booking to be checked in and click Properties or press ENTER.
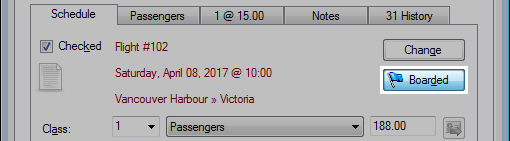
- Click the Checked checkbox.

- Optional. Click the Board button.
- Click the Luggage tab.
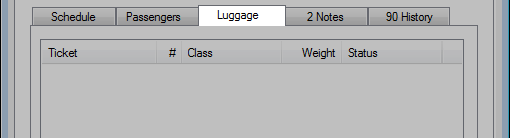
- To add luggage, enter the number of bags and weight and click Add.

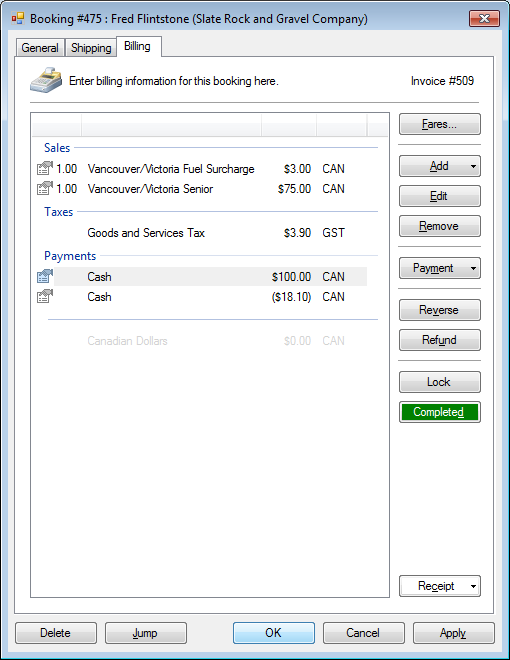
- Click the Billing tab.
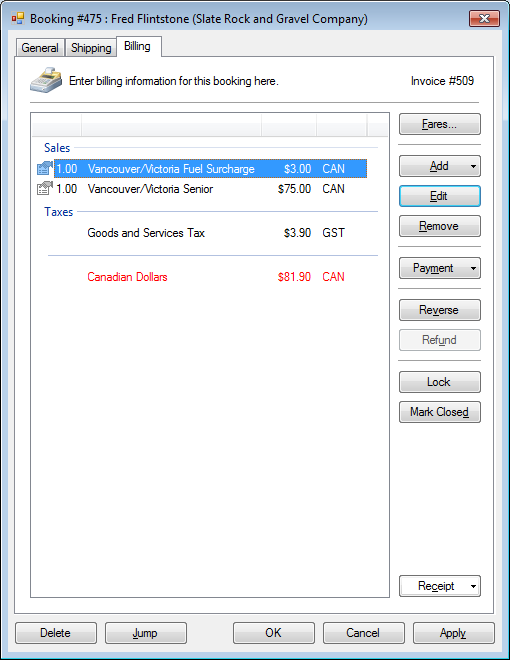
The amount outstanding will be highlighted in red.
- Click Payment.
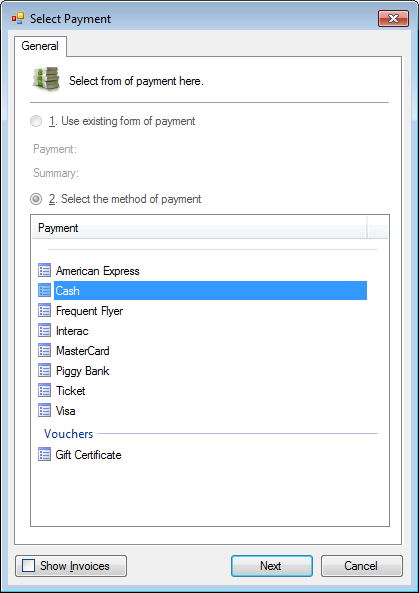
- Select the method of payment.
- Enter in the payment fields as required.
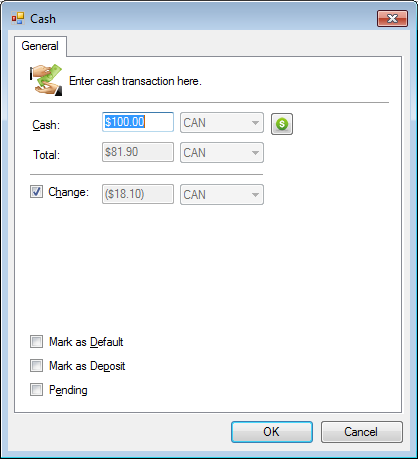
- Click OK to save.
- With the payment completed, click OK to save and close the booking.
- The booking is now checked in on the manifest.
Congratulations! You’ve made your first check in!
» Continue to Fundamentals