Operation level permission required to create a new schedule.
» Setup Employees and Permissions
» Setup Employees and Permissions
Let’s create a new schedule!
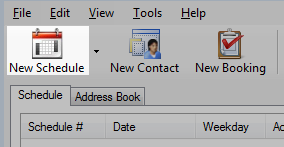
- From the main window, click New Schedule.
- The schedule window will open.
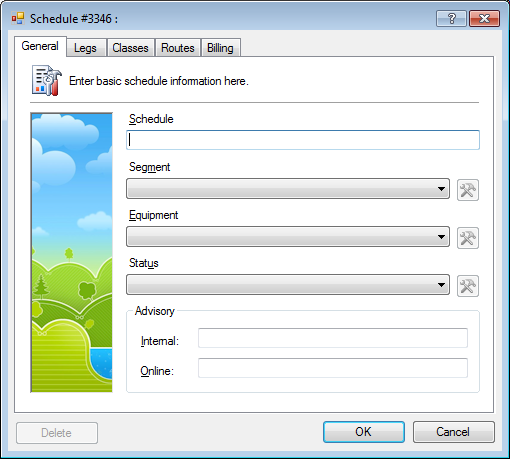
- In the General tab, enter the basic schedule information.
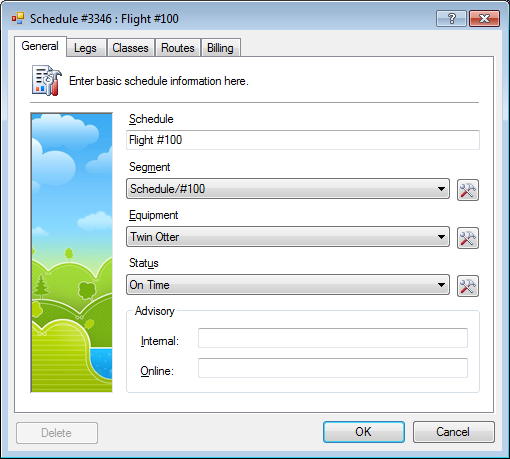
- Enter a Schedule.
- Select a Segment.
- Select an Equipment.
- Select the Status.New schedules are generally set to On Time or Scheduled.
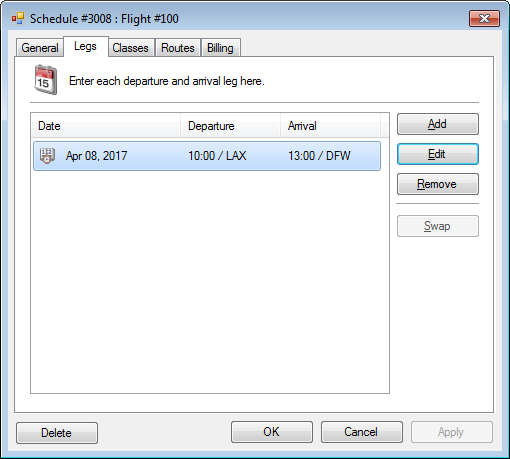
- Click the Legs tab.
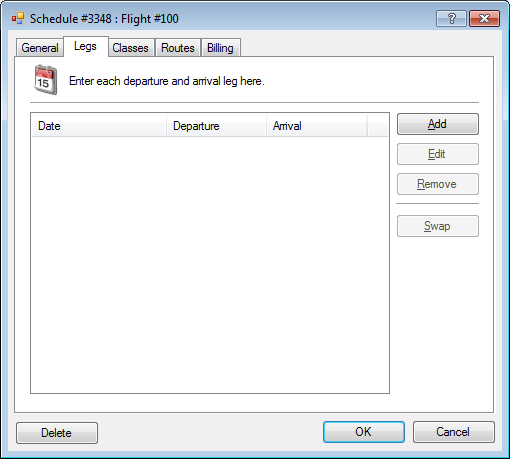
- Click Add.
- Select the Departure location and enter a date and time.
- Select the Arrival location and enter a date and time.
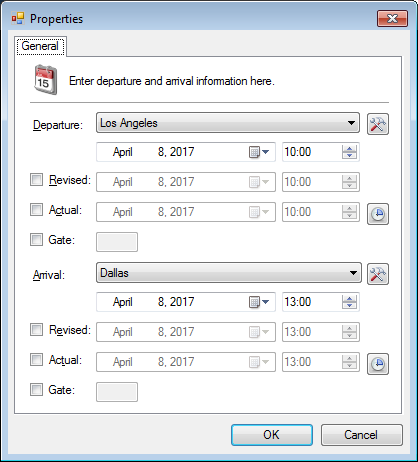
- Click OK to save. Review and add additional legs as required.
- Click the Classes tab.
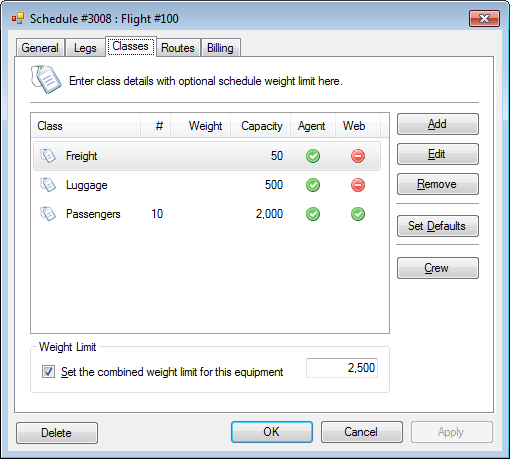 The classes may already be listed if the equipment has pre-defined classes.
 - Click Add. Alternatively, select an existing class and click Edit.
- Select a class from the drop-down list.
- In the Restrictions section, set the Maximum # of seats and Weight Capacity if applicable.
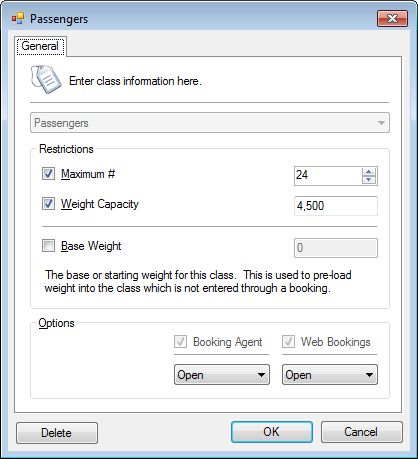
- Click OK to save.
- Click the Routes tab.
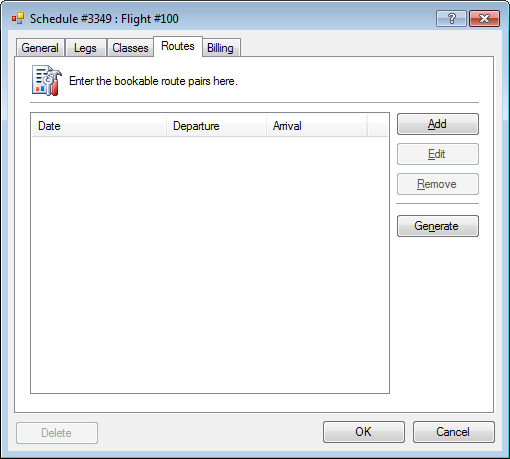
- Click Generate to create the bookable route pairs.
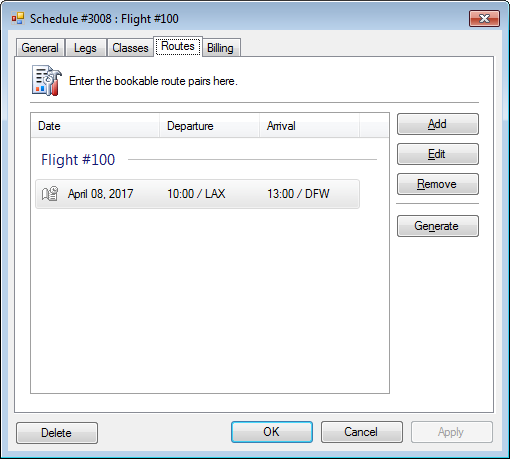
- Click OK to save.