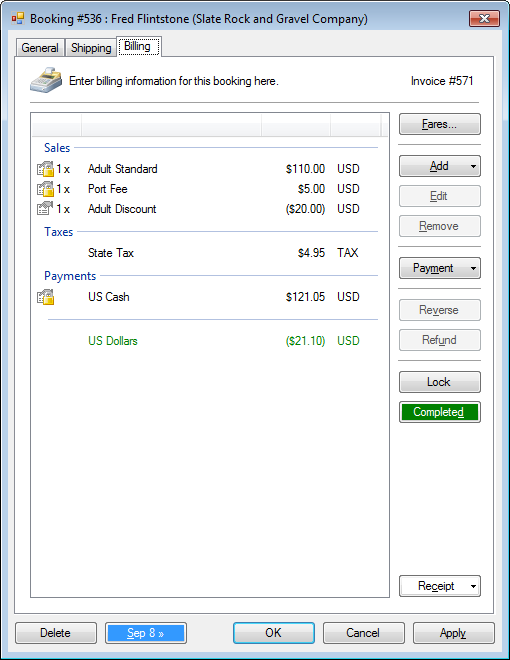
The invoice allows billing to be processed for bookings, charters and stand-alone point of sale transactions.
» Change a fare
» Change a fare in a group booking
» Sales
» Taxes
» Payments
» Refunds
» Posting
» Point of Sale
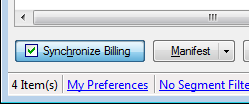
Synchronization
Synchronization allows on-the-fly re-calculations of the billing based on the current passenger profile.
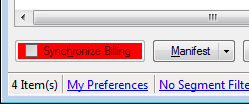
The synchronize billing option is automatically active and checked except under certain scenarios such as locked billing.
- Find Availability
- Passenger in a Group Booking
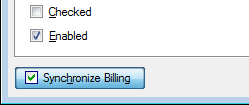
- Disabled
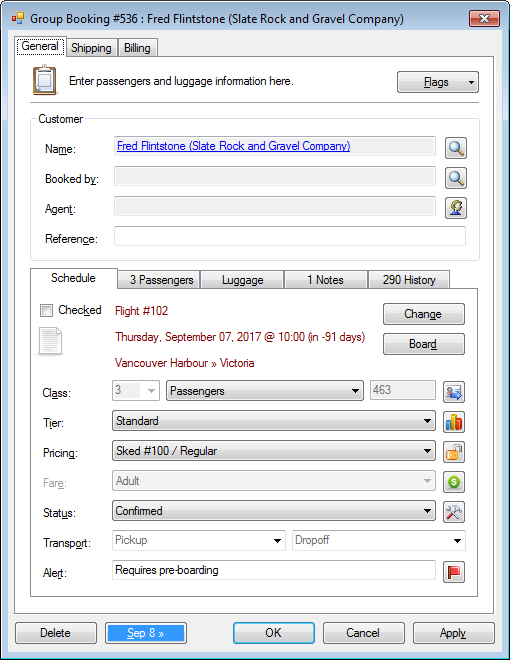
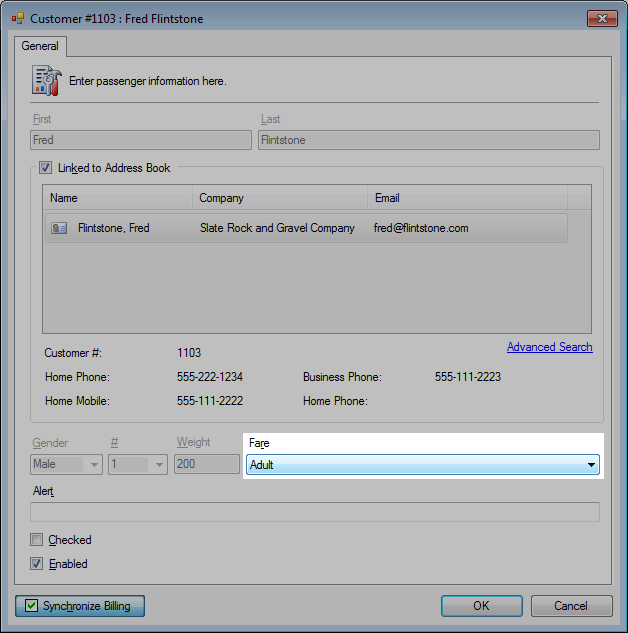
Change a fare
- Open a booking.
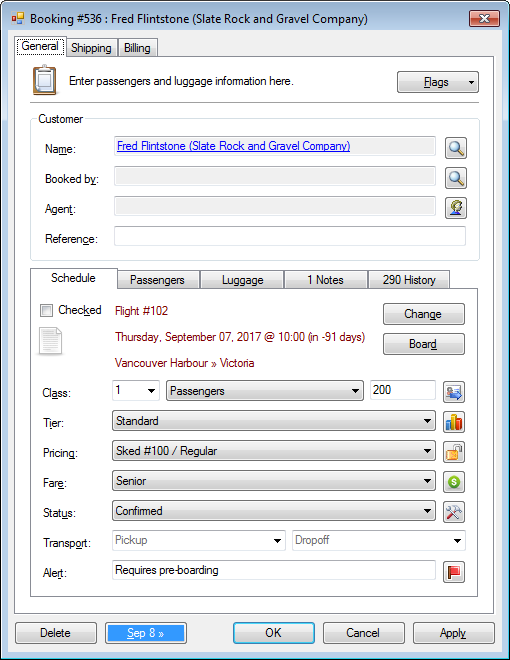
- In the General tab, select the Fare.

- Change the Fare.

- If applicable, you will be prompted to accept the billing changes.
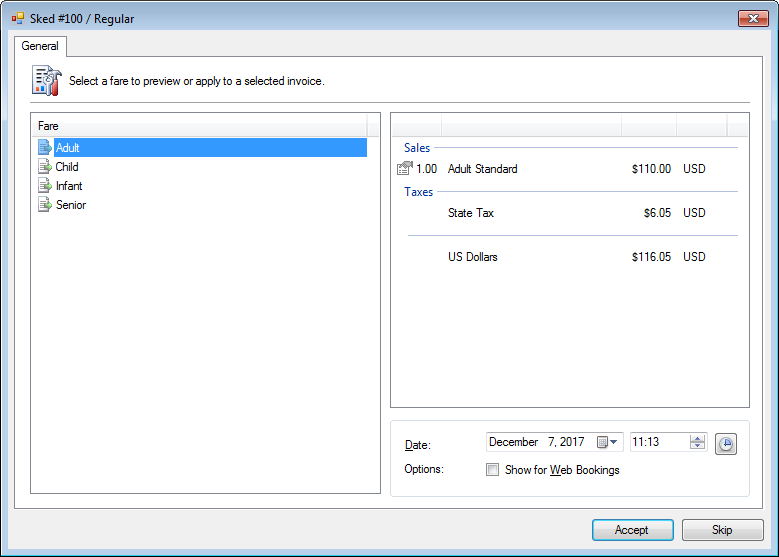
- Click Accept.
Change a fare in a group booking
- Open a group booking.
- In the Passenger tab, select a passenger.
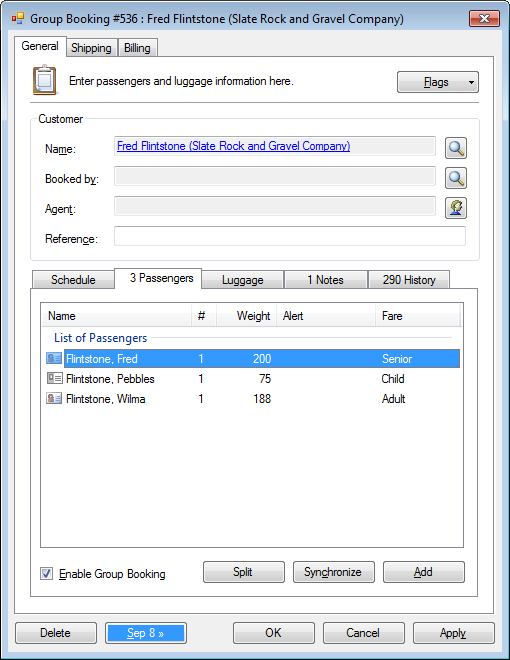
- Press ENTER or double-click.
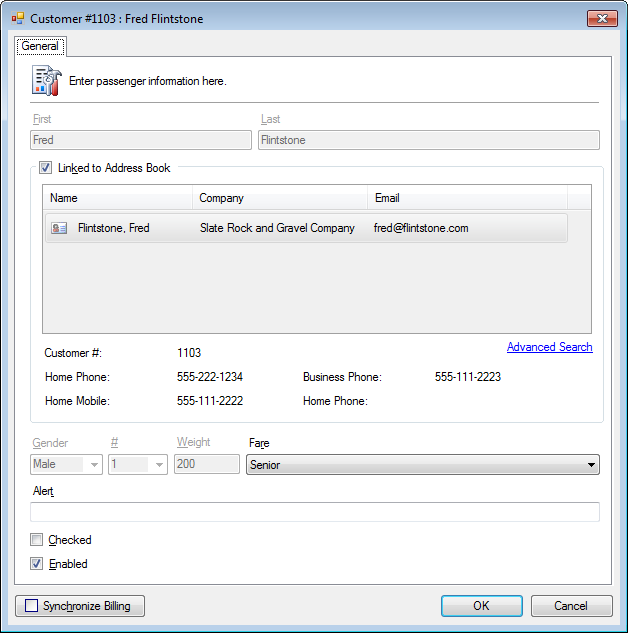
- Change the Fare.
- Click OK.
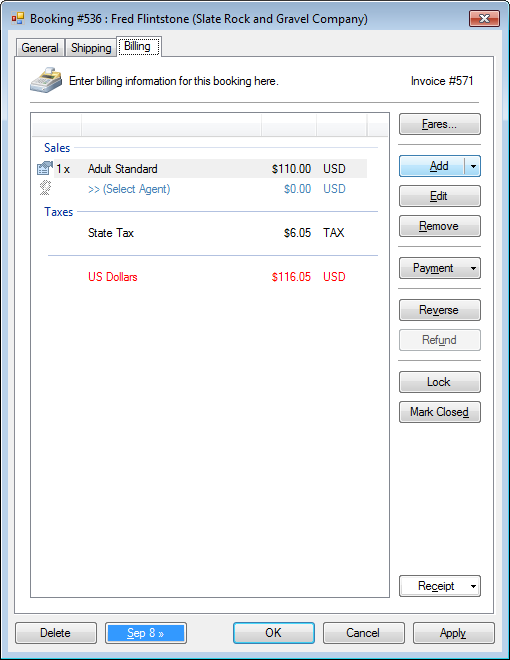
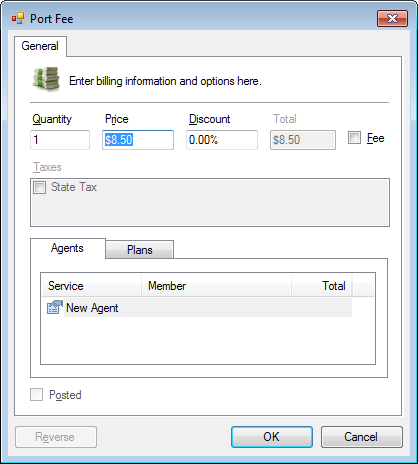
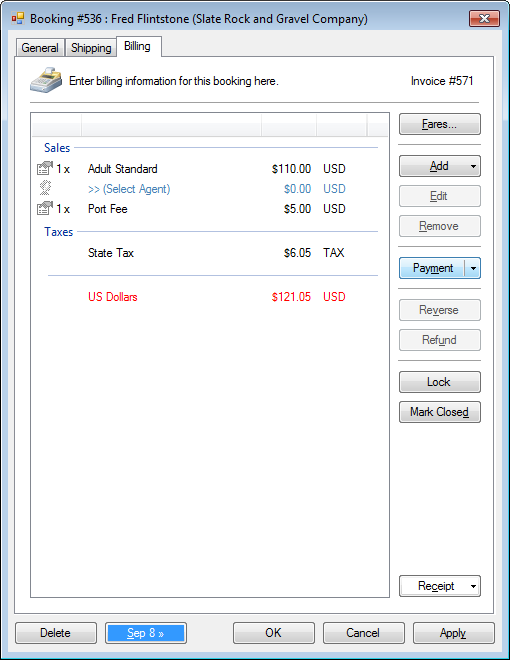
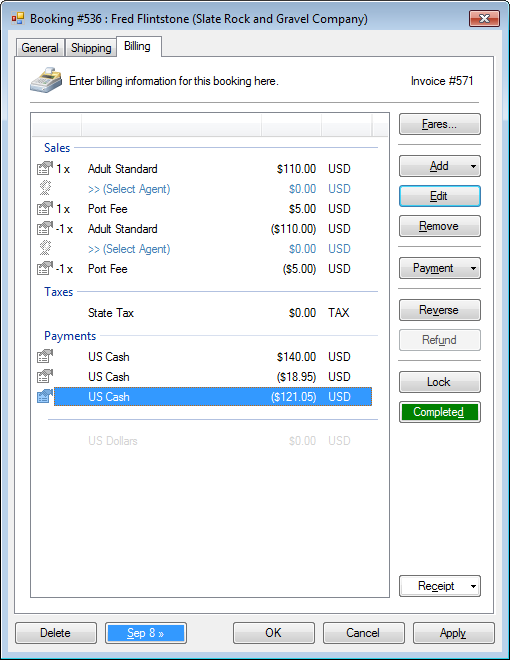
Sales
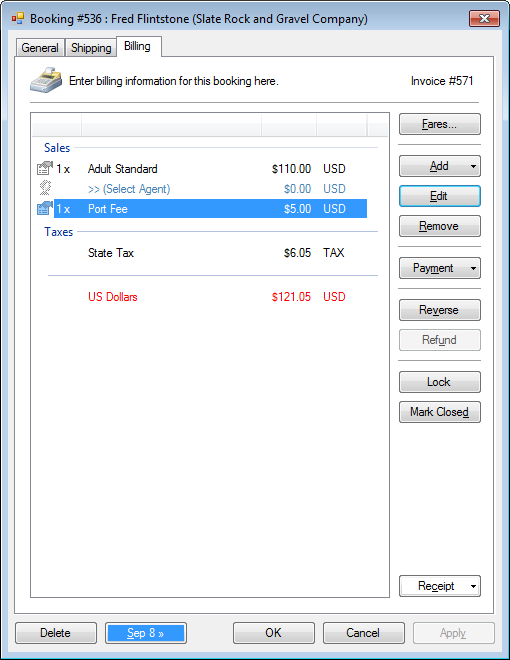
Add an inventory
- Click Add.
- Find the inventory.

- Select the inventory.

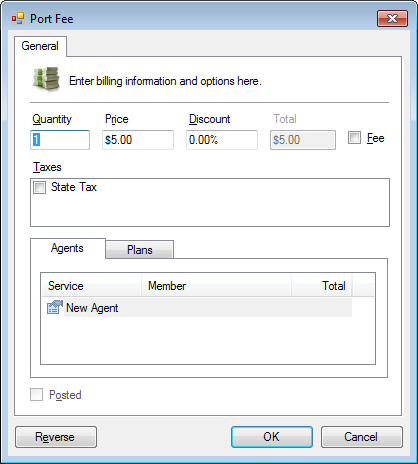
Change an inventory
- Select the inventory.
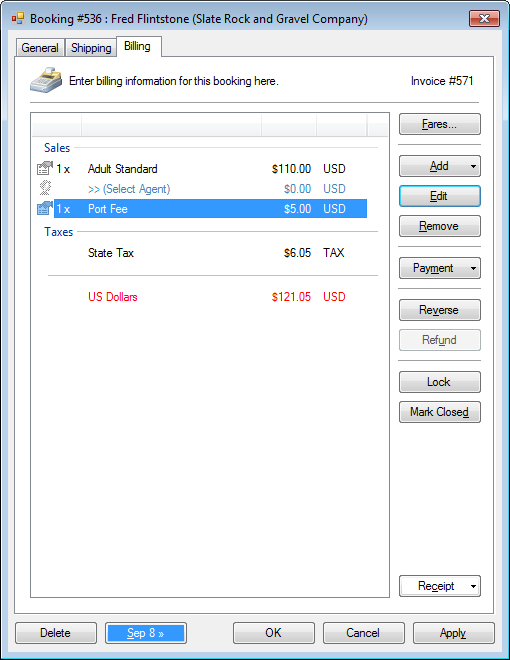
- Press ENTER, double-click or click Edit.
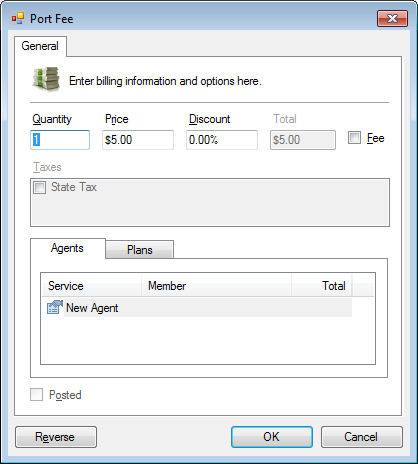
- Make the adjustments.
- Click OK.

Remove an inventory
- Select the inventory.

- Press DELETE or click Remove.
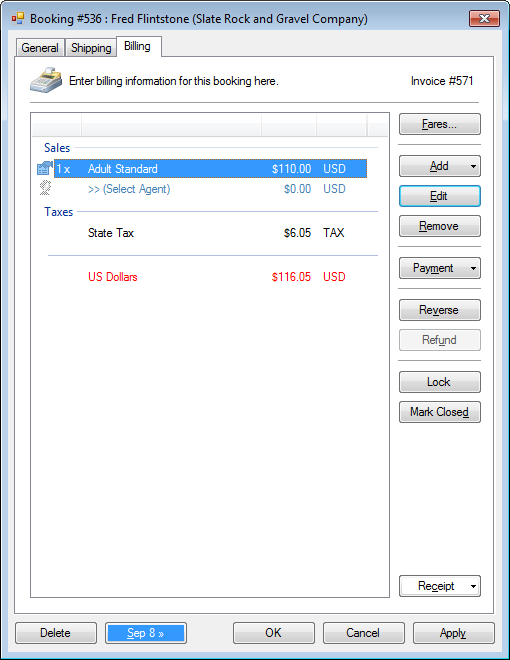
Taxes
Taxes are pre-configured for each inventory item but may be change manually, if allowed.
Manual tax changes are on a line by line basis.
» Setup Inventories | Allow tax modifications
» Booking options | Tax Exemptions
- Select the inventory.
- Press ENTER, double-click or click Edit.
- Change the tax options.
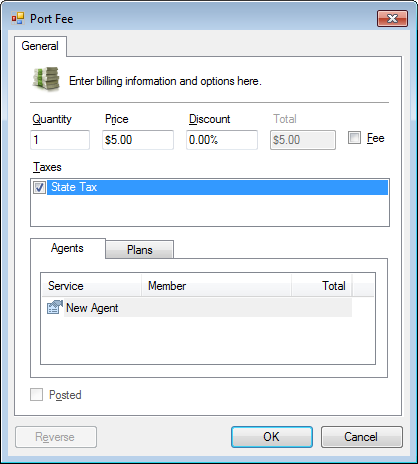
- Click OK.
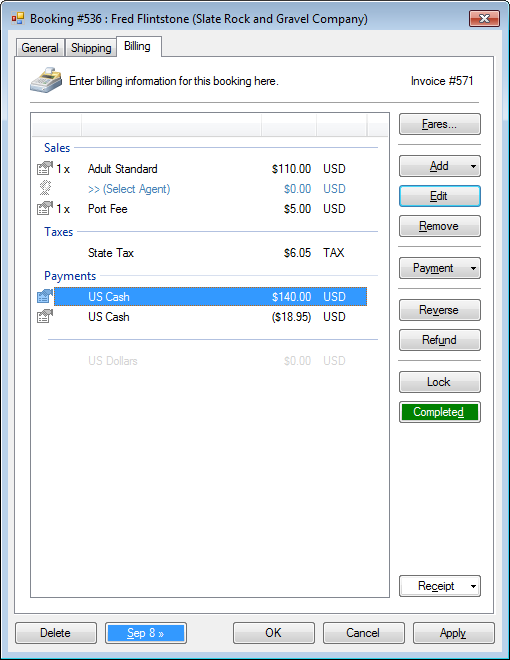
Payments
- Click Payment.
- Select the method of payment.
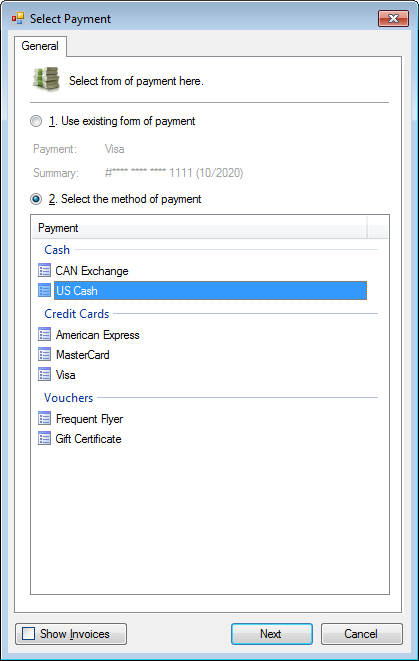
- Optional. Use the default form of payment for this contact.
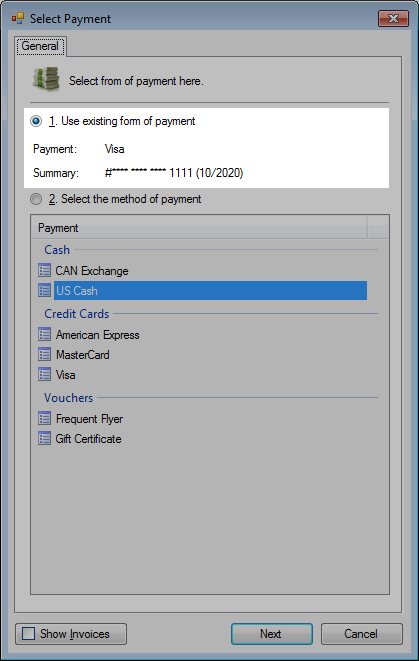
- Optional. Check Show Invoices to pay multiple invoices.

- Click Next. If Show Invoices is checked, the Select Invoices window will open. See instructions below.
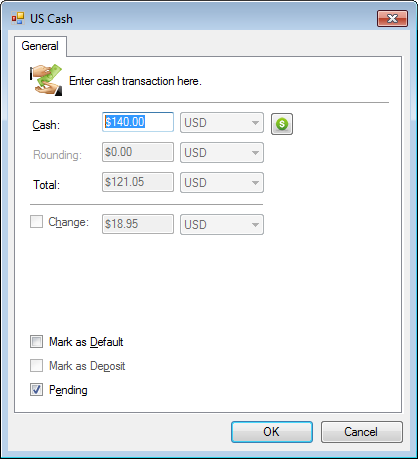
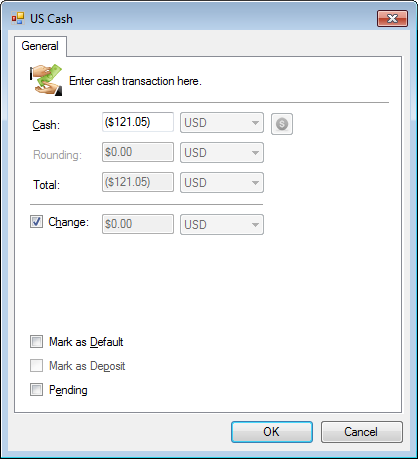
- The payment window will open.
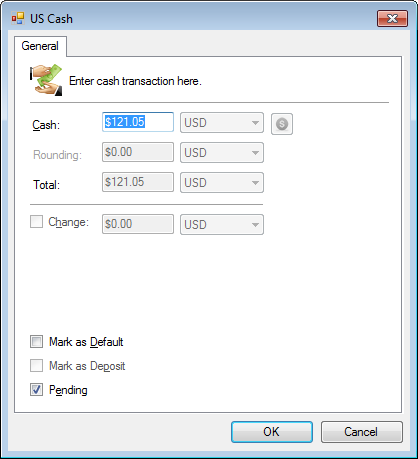
- Enter the amount paid.
- Optional. Check Mark as Default to allow this payment to be applied each time this contact creates a booking.
This is generally recommended for credit card payments. - Optional. Check Mark as Deposit to denote this full or partial payment is for an invoice which will be finalized in the future.
- Optional. Check Pending to save this payment for future processing, or uncheck to process this payment immediately.

- Click OK.
Select Invoices
When Show Invoices is checked, you can pay for multiple invoices.
- Select the invoice in the top window.
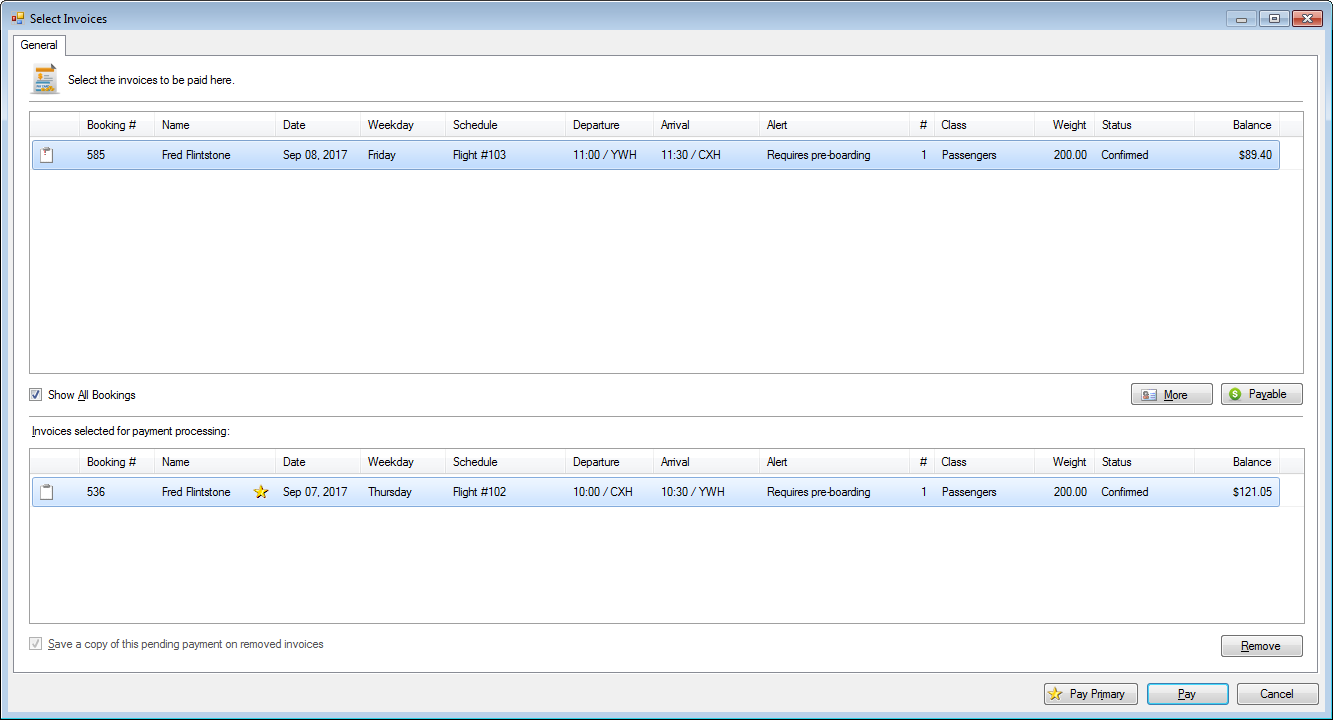
- Click Payable.
- This moves the invoice down into the payables window.
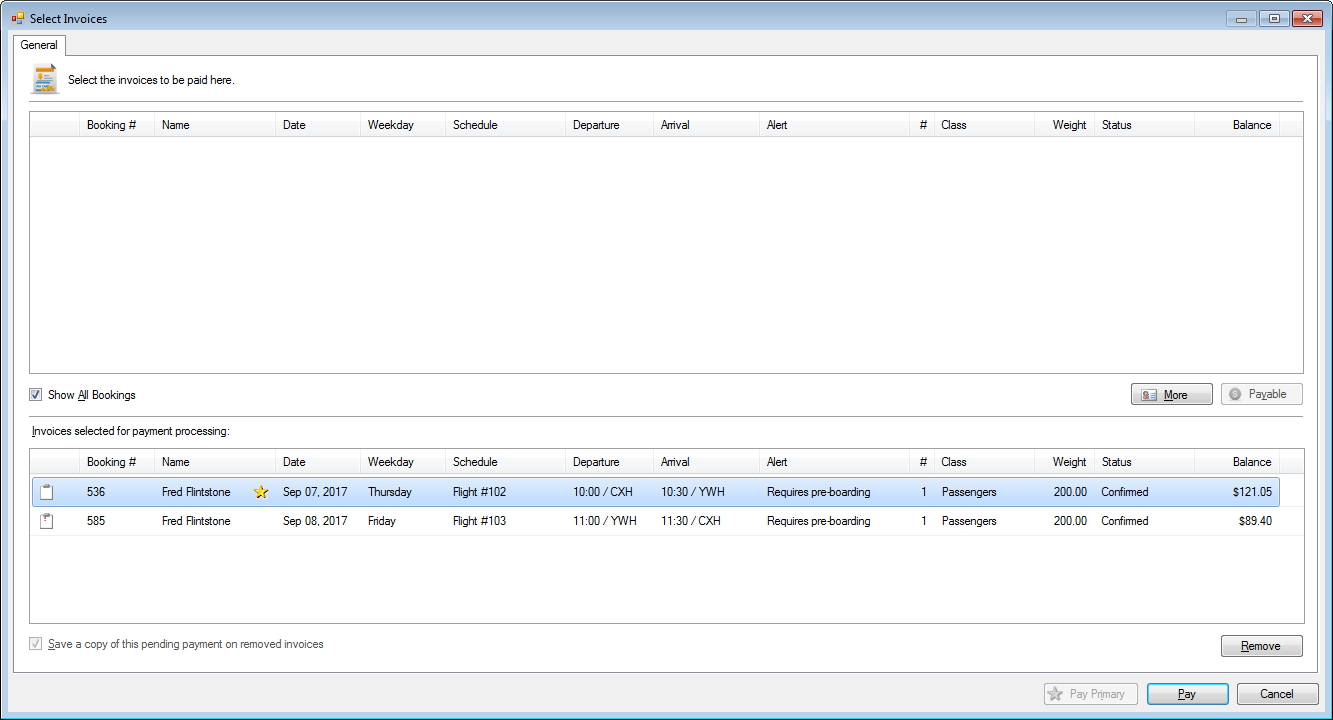
- Click Pay.
Refunds
Refund will attempt to reverse all transactions on an invoice.
- Click Refund.

- The original form of payment will load.
- Click OK.
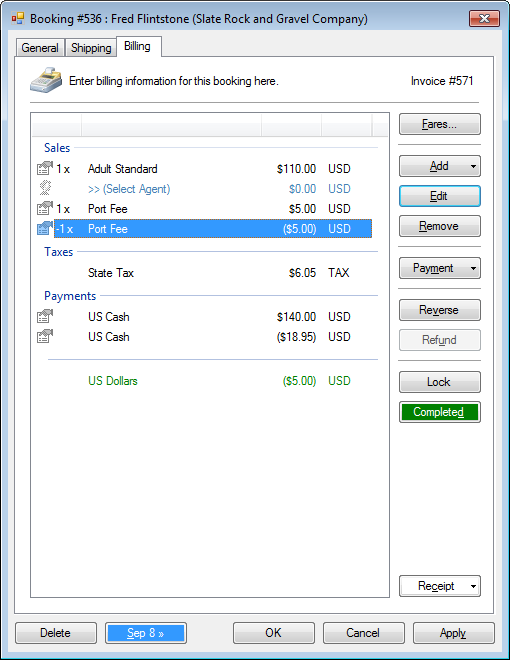
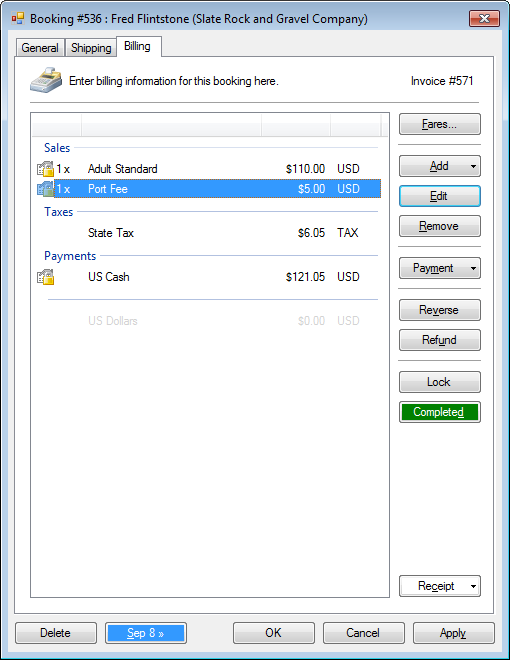
Reverse
Reverse allows a single item on an invoice to be backed out.
- Select an item on an invoice.
This can an inventory, commission, loyalty points or a payment.
- Click Reverse.
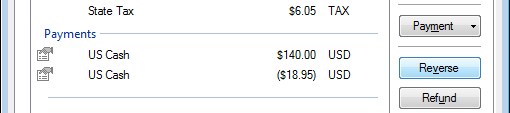
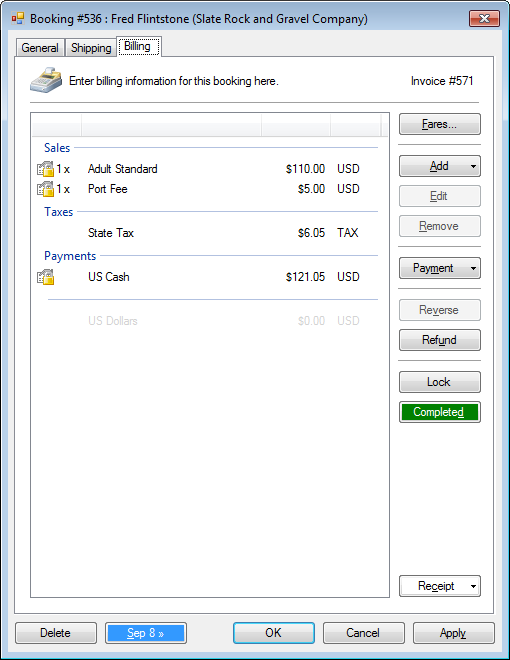
- The individual line item has been reversed.
- Optional. Select the form of payment and click Payment > Adjustment.
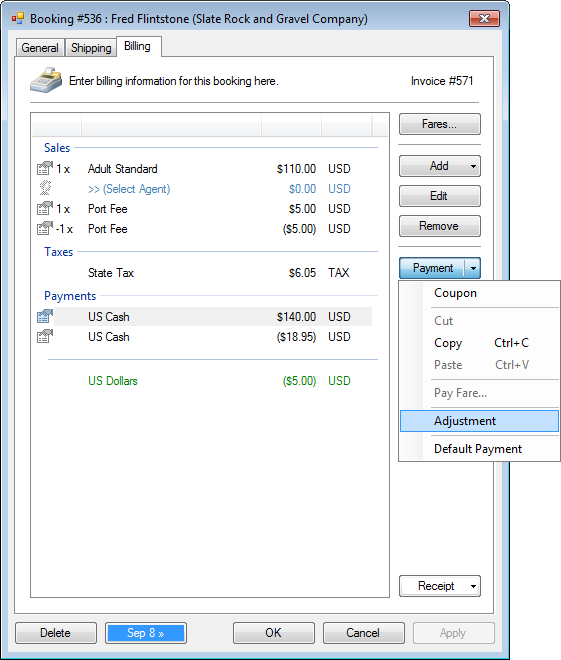
- The outstanding amount will be automatically set.
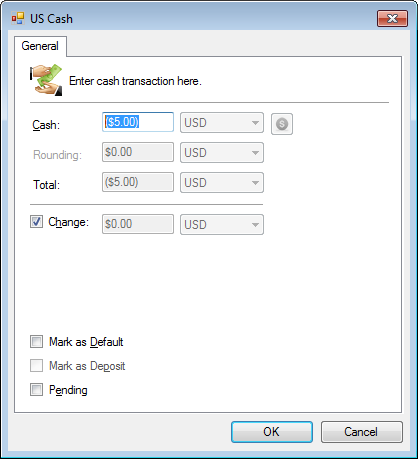
- Alternatively, by clicking the money button, it will automatically set the amount to the outstanding amount.

- Click OK.
Posting
Postings are individual sales, commissions, loyalty points and payments locked down for accounting purposes, generally executed at the end of day.
Posted transactions will have a lock symbol and are prevented from adjustments. New sales items can be added, however.
- All items are posted
- New inventory items added with outstanding balance
Posting override
This administrator function should only be used in special circumstances and with full coordination of your accounting department.
- In the Billing tab, select the posted item.
- Press CTRL + SHIFT + P.
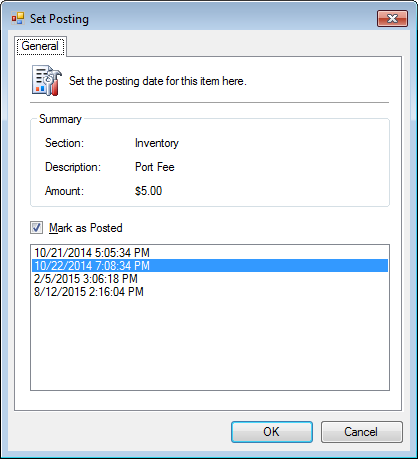
- Make the adjustments to the posting.
- Click OK.